
A cloudy tank, a sour smell, or buildup around a lobster tank’s waterline is not a cosmetic issue. It can quickly become an inventory, food-safety, and customer-confidence problem. Knowing how to sanitize seafood tanks correctly means removing contamination without exposing valuable live product to chemical residue, sudden water changes, or a system restart that disrupts business.
For commercial seafood departments, restaurants, wholesalers, and live-holding operations, sanitation must be part of a controlled maintenance process. The goal is not to make a tank smell strongly of chemicals. The goal is a clean, stable marine environment that supports healthy shellfish or fish while presenting product properly to customers.
Sanitation Starts With Cleaning, Not Chemicals
Sanitizing and cleaning are related, but they are not the same job. Cleaning removes visible soil, slime, mineral deposits, feed residue, shell fragments, biofilm, and organic waste. Sanitizing reduces microorganisms on already-clean surfaces. If organic material remains on the tank wall, grates, plumbing, or holding baskets, a sanitizer cannot perform as intended.
That distinction matters in live seafood systems. A quick wipe-down with a disinfectant may make a surface look better, but it will not resolve buildup inside a drain line, under a false bottom, or in a filter compartment. Worse, using a strong chemical before debris is removed can leave residues that are hard to rinse and unsafe for livestock.
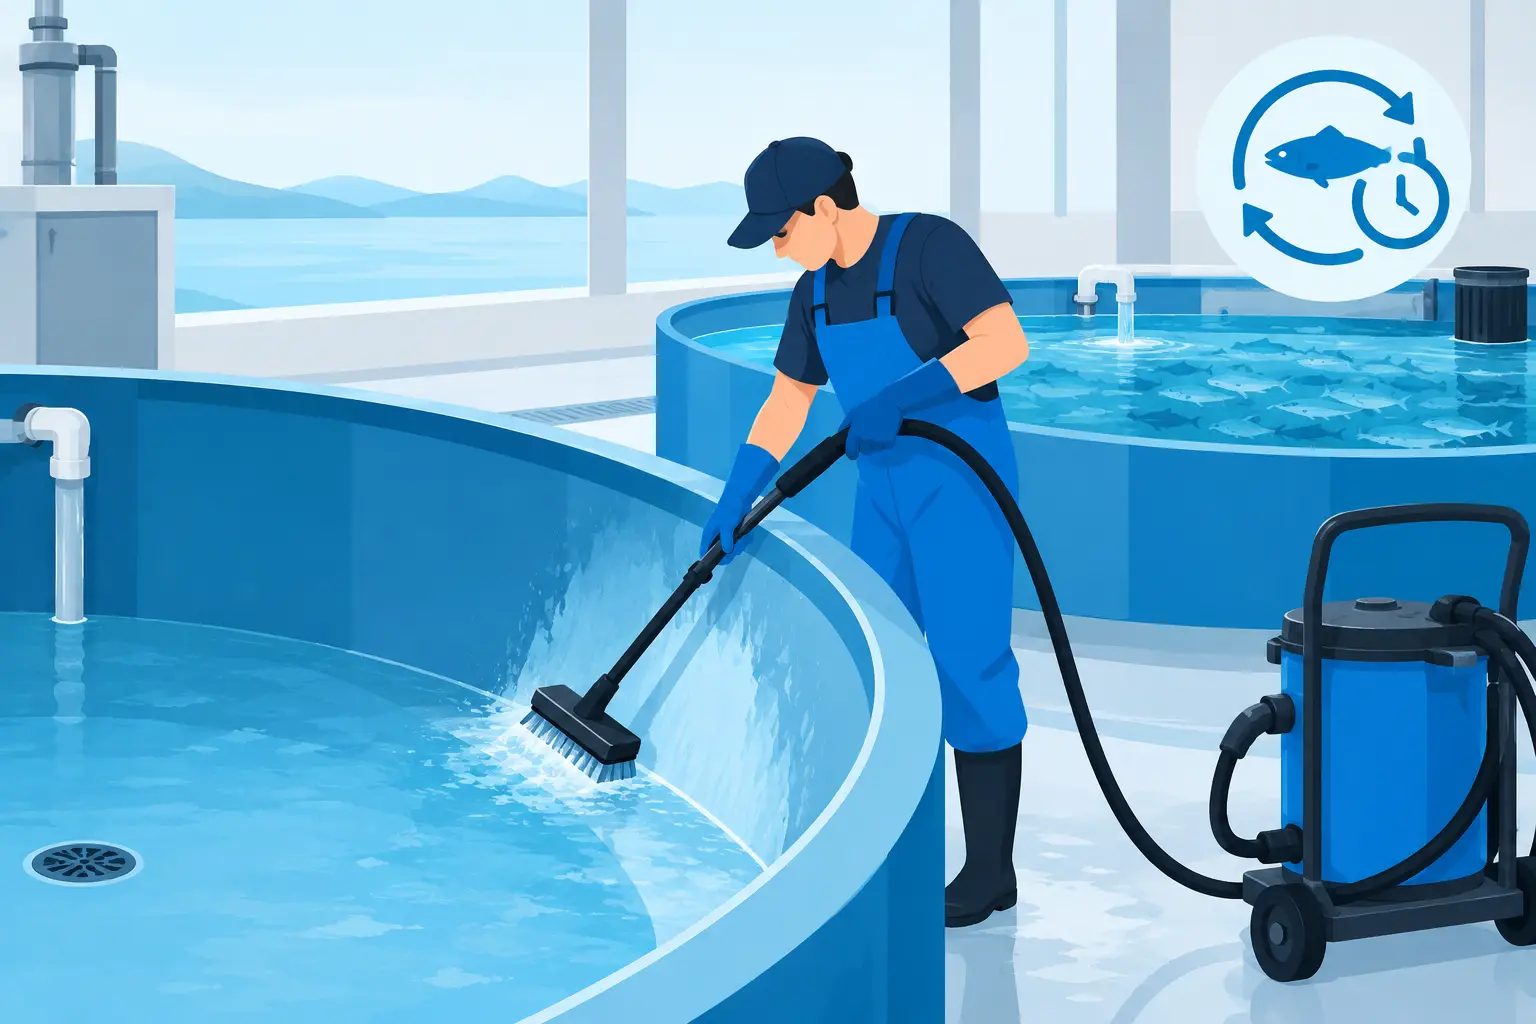
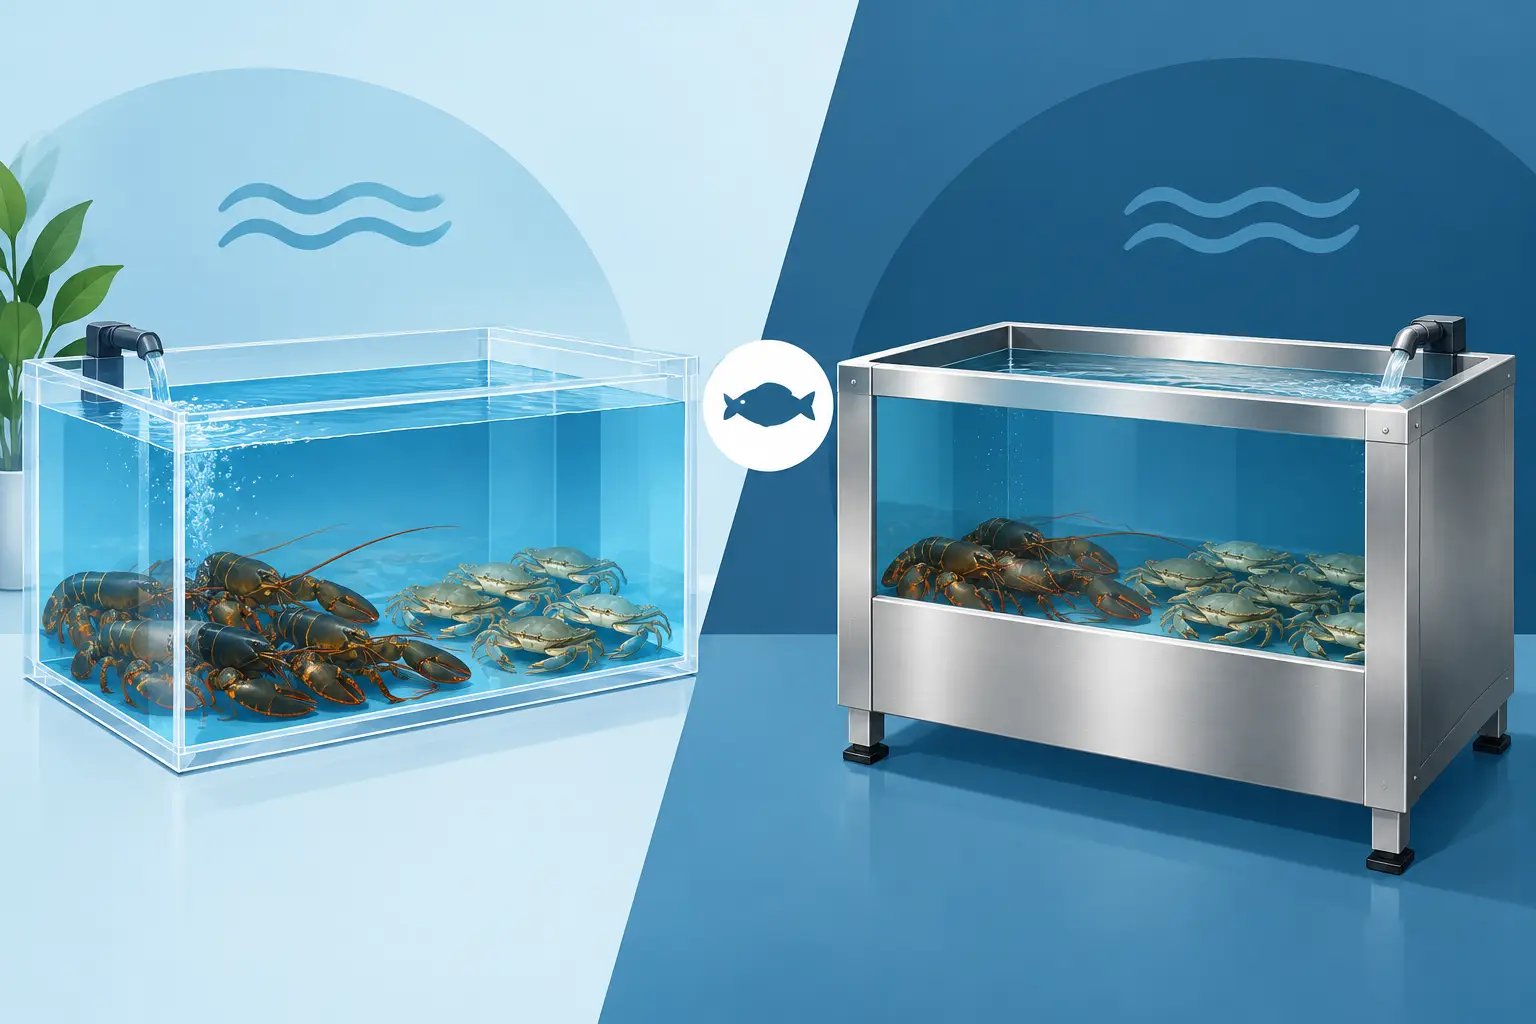
Treat cleaning as mechanical work first. Use the right brushes, pads, and tools for acrylic, fiberglass, plastic, stainless, and PVC components. Aggressive abrasives can scratch viewing panels, creating places where biofilm can return faster. A tank may be built for commercial service, but every surface and component still needs the appropriate cleaning method.
When to Sanitize a Seafood Tank
A complete sanitation is generally required before a new system is placed into operation, after an animal health incident, following a major contamination event, or when a tank has been taken out of service for an extended period. It is also appropriate between different species or lots when cross-contamination is a concern.
Routine maintenance is different. During normal operation, staff should remove waste, clean accessible surfaces, inspect filters, maintain salinity and temperature, and monitor water quality on a set schedule. Full shutdown sanitation too often can create its own problems, especially if beneficial biological filtration is destroyed without a plan to safely restart the system.
The right frequency depends on the system design, species held, turnover rate, local health requirements, tank traffic, and maintenance history. A high-volume supermarket lobster system will not have the same schedule as a small restaurant display tank. Build procedures around actual operating conditions, not a one-size-fits-all calendar.
How to Sanitize Seafood Tanks Step by Step
Before work begins, decide whether the tank can be cleaned in service or must be fully emptied and isolated. Never add sanitizing chemicals to a live holding tank with seafood still inside unless the chemical and use rate are specifically approved for that purpose. In most cases, livestock should be moved to a stable, properly conditioned backup holding system.
A disciplined sanitation process usually follows these steps:
- Move live seafood safely. Transfer product to a separate holding unit with matched water conditions whenever possible. Avoid unnecessary handling, temperature shock, or abrupt salinity changes.
- Shut down and isolate equipment. Turn off pumps, chillers, UV units, ozone equipment, and other components as required by their manufacturer instructions. Disconnect power before opening electrical equipment or servicing wet areas.
- Drain and remove physical debris. Remove shells, waste, baskets, grates, filter media, and loose material. Vacuum or flush settled debris from low points, sumps, and drains.
- Wash all accessible surfaces. Apply an appropriate detergent or cleaner, scrub tank walls and working surfaces, and clean plumbing components that can be safely accessed. Pay close attention to seams, corners, overflows, intake screens, valves, and the underside of removable parts.
- Rinse completely before sanitizing. Detergent residue can interfere with sanitizers. Use clean water and continue rinsing until all visible cleaner and loosened debris are gone.
- Apply the approved sanitizer at the proper concentration. Follow the product label for dilution, contact time, temperature limits, and surface compatibility. More chemical is not better. Over-concentration raises the risk of material damage and dangerous residue.
- Rinse or air-dry as directed. Some sanitizers require a potable-water rinse for food-contact surfaces; others are designed for no-rinse use at specific concentrations. Follow the label and applicable local requirements exactly.
- Reassemble, flush, and restart methodically. Reinstall cleaned components, refill or reconnect the system, and verify that water conditions are stable before returning seafood to the tank.
Do Not Guess at Chemical Selection
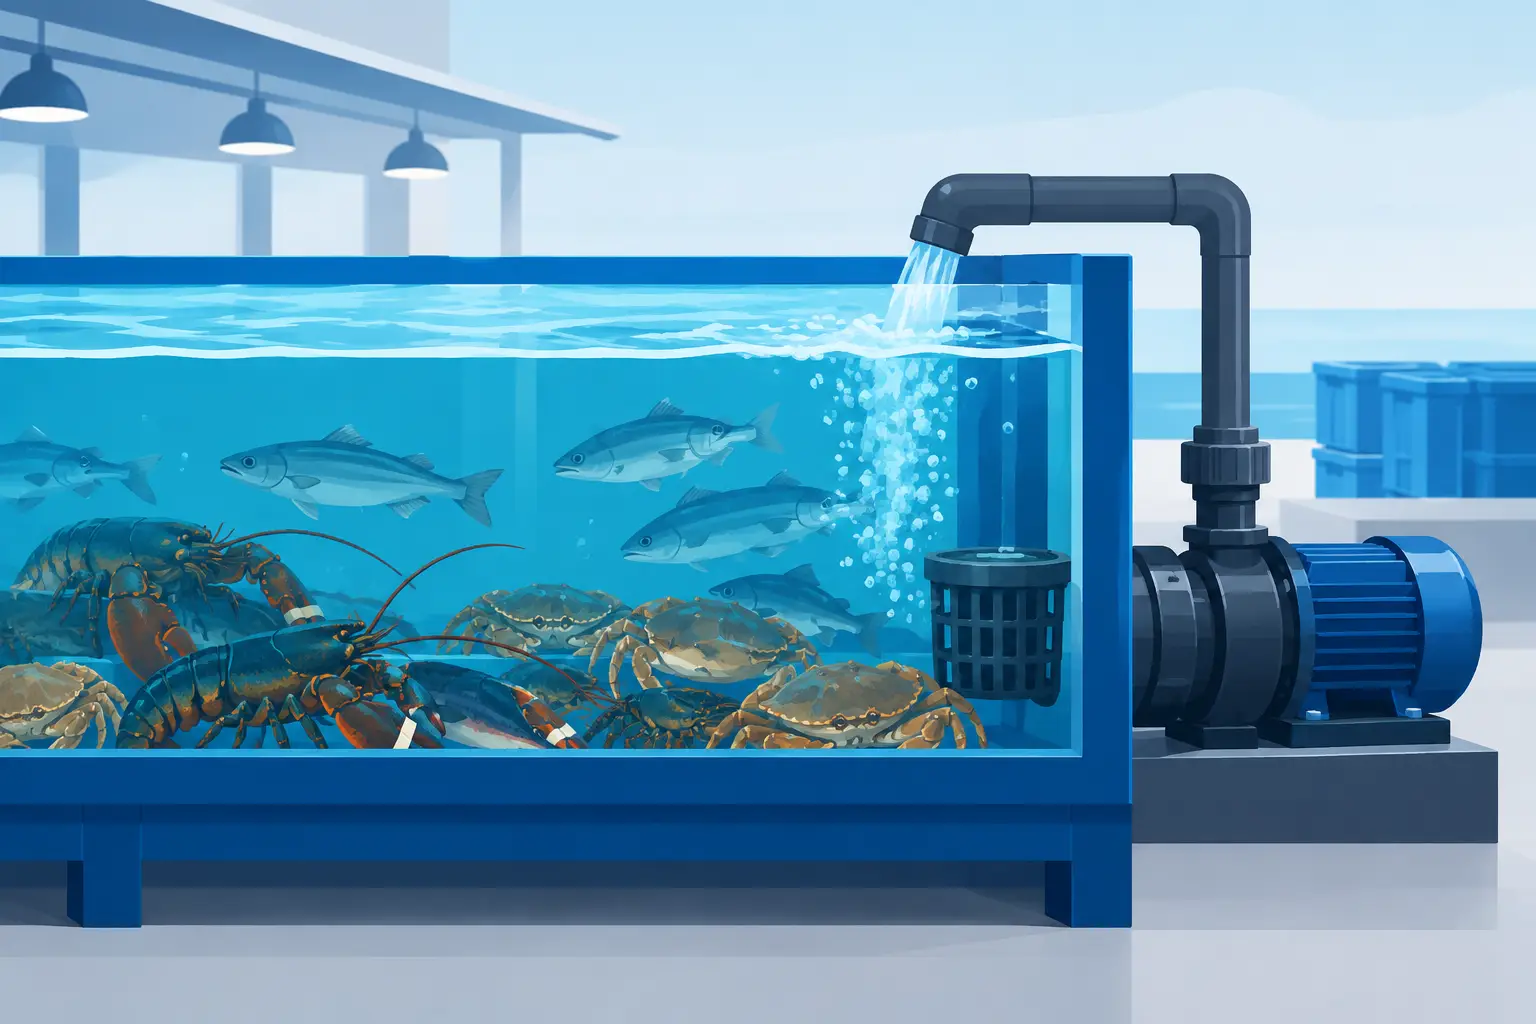
Commercial seafood tanks are not restaurant prep tables. They contain marine plumbing, filtration media, pumps, seals, acrylic panels, and sometimes sensitive biological filtration. The wrong chemical can damage equipment, harm the system’s bacteria colony, or leave a residue that threatens live inventory.
Use sanitizers that are appropriate for the tank material and the intended application. Chlorine-based products, quaternary ammonium compounds, peroxide-based cleaners, and other disinfectants all have different uses, limitations, and rinsing requirements. Some products may be acceptable for hard surfaces but unsuitable for systems that will immediately return to aquatic use. Never mix chemicals, especially chlorine products with acids or ammonia-based cleaners. That can create dangerous gases.
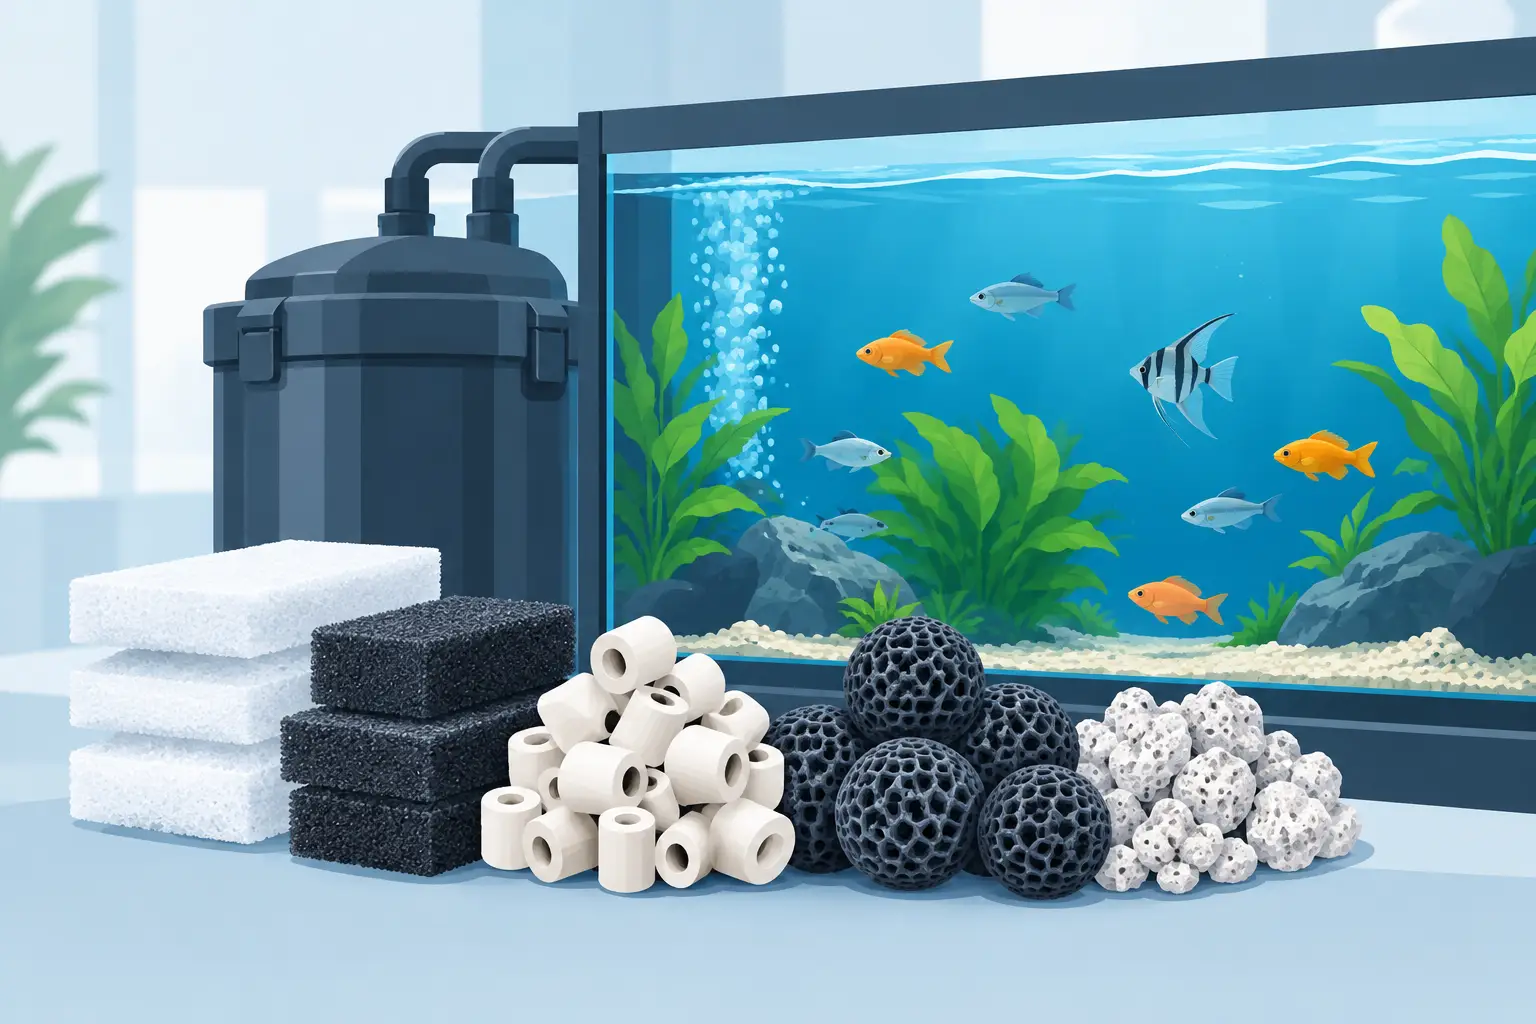
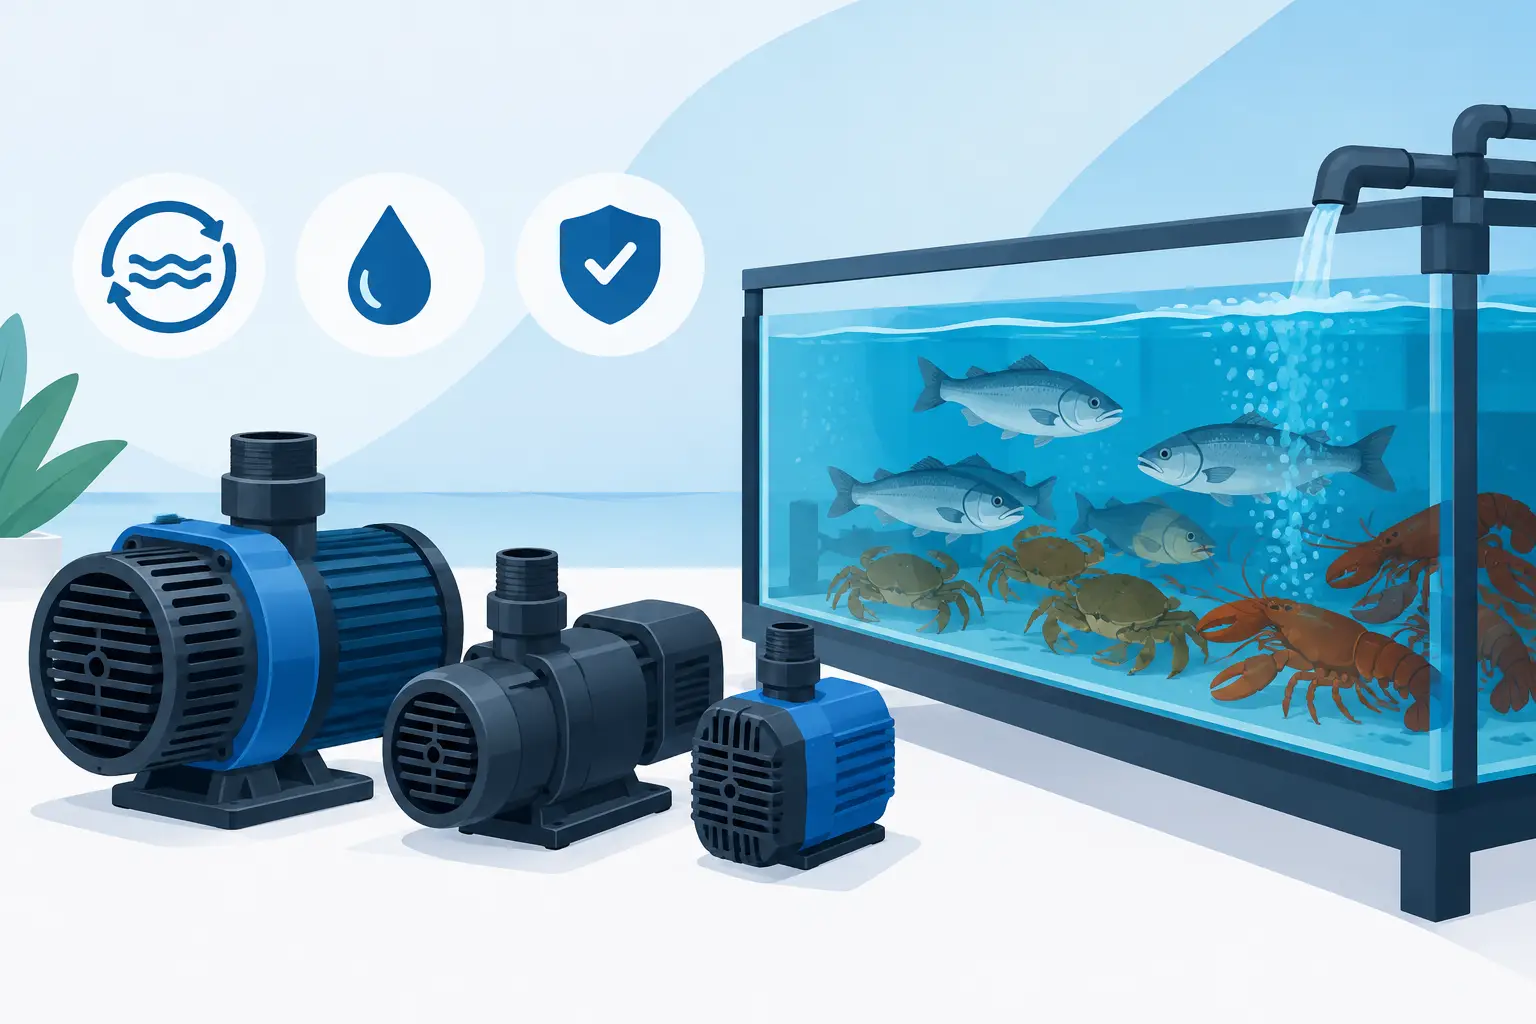
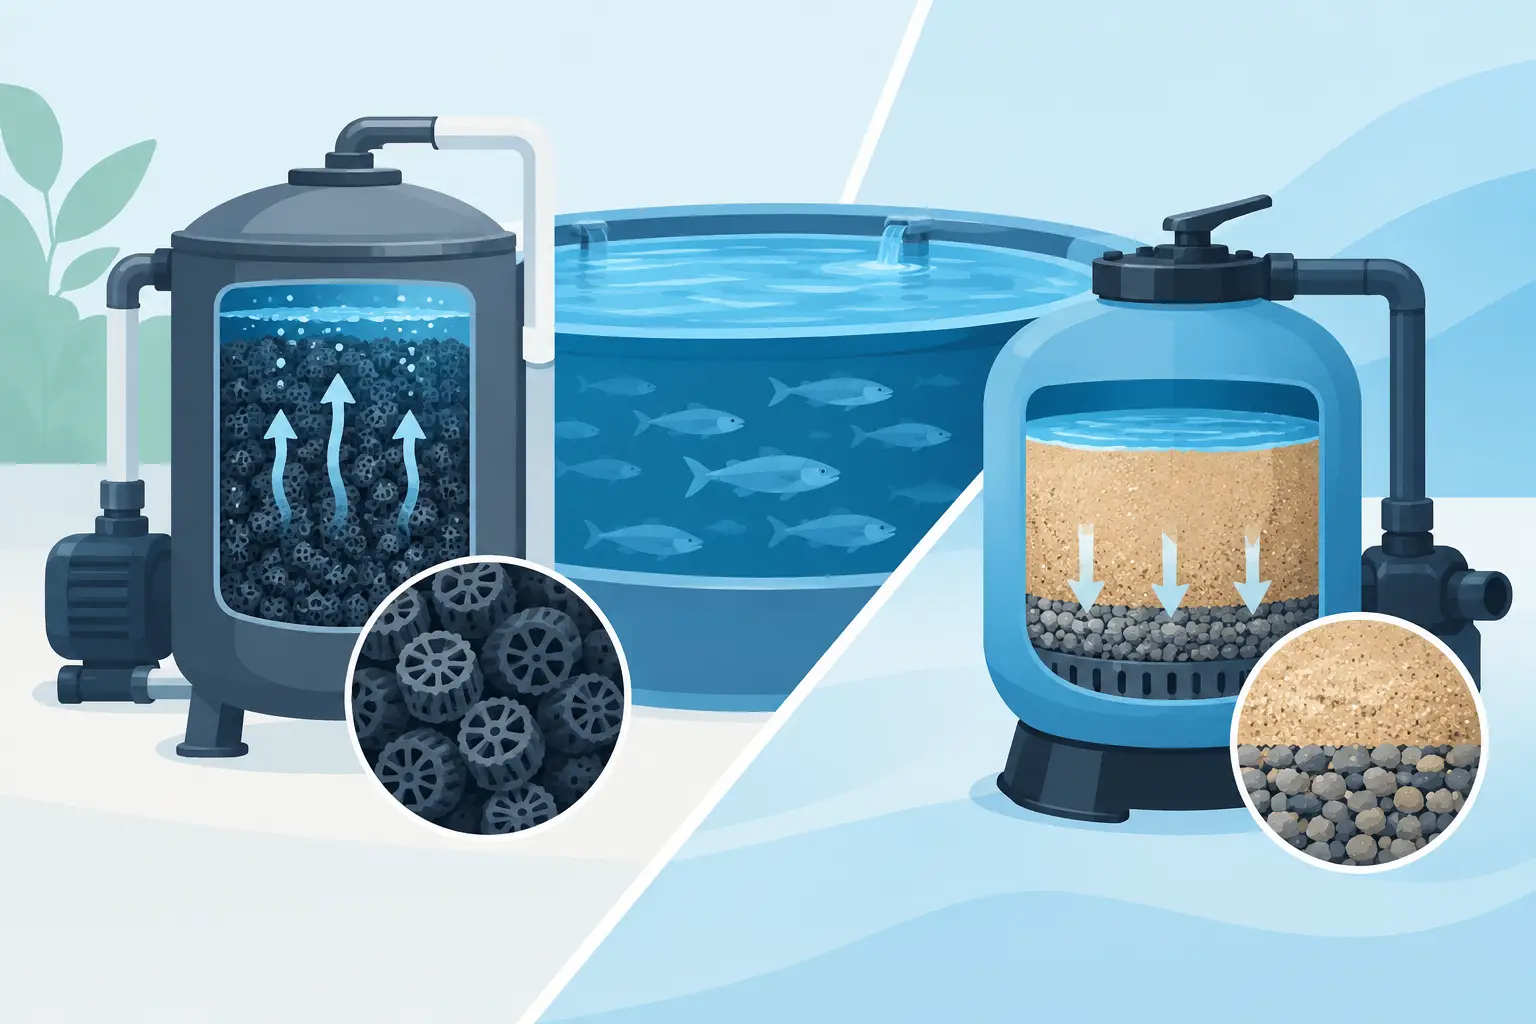
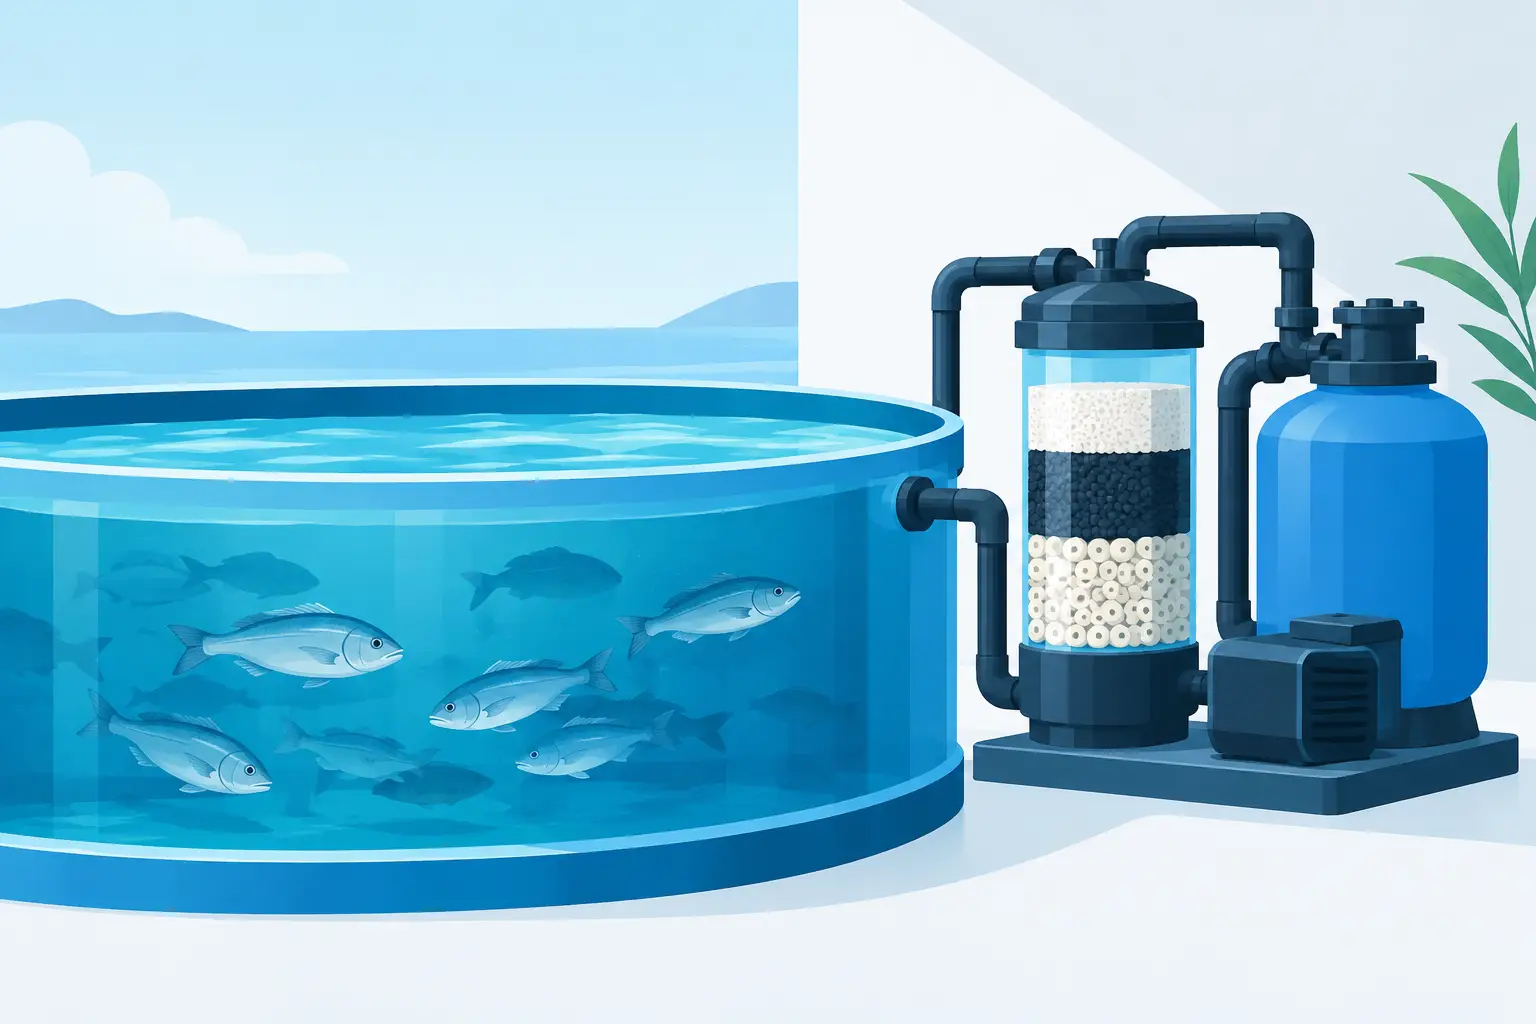
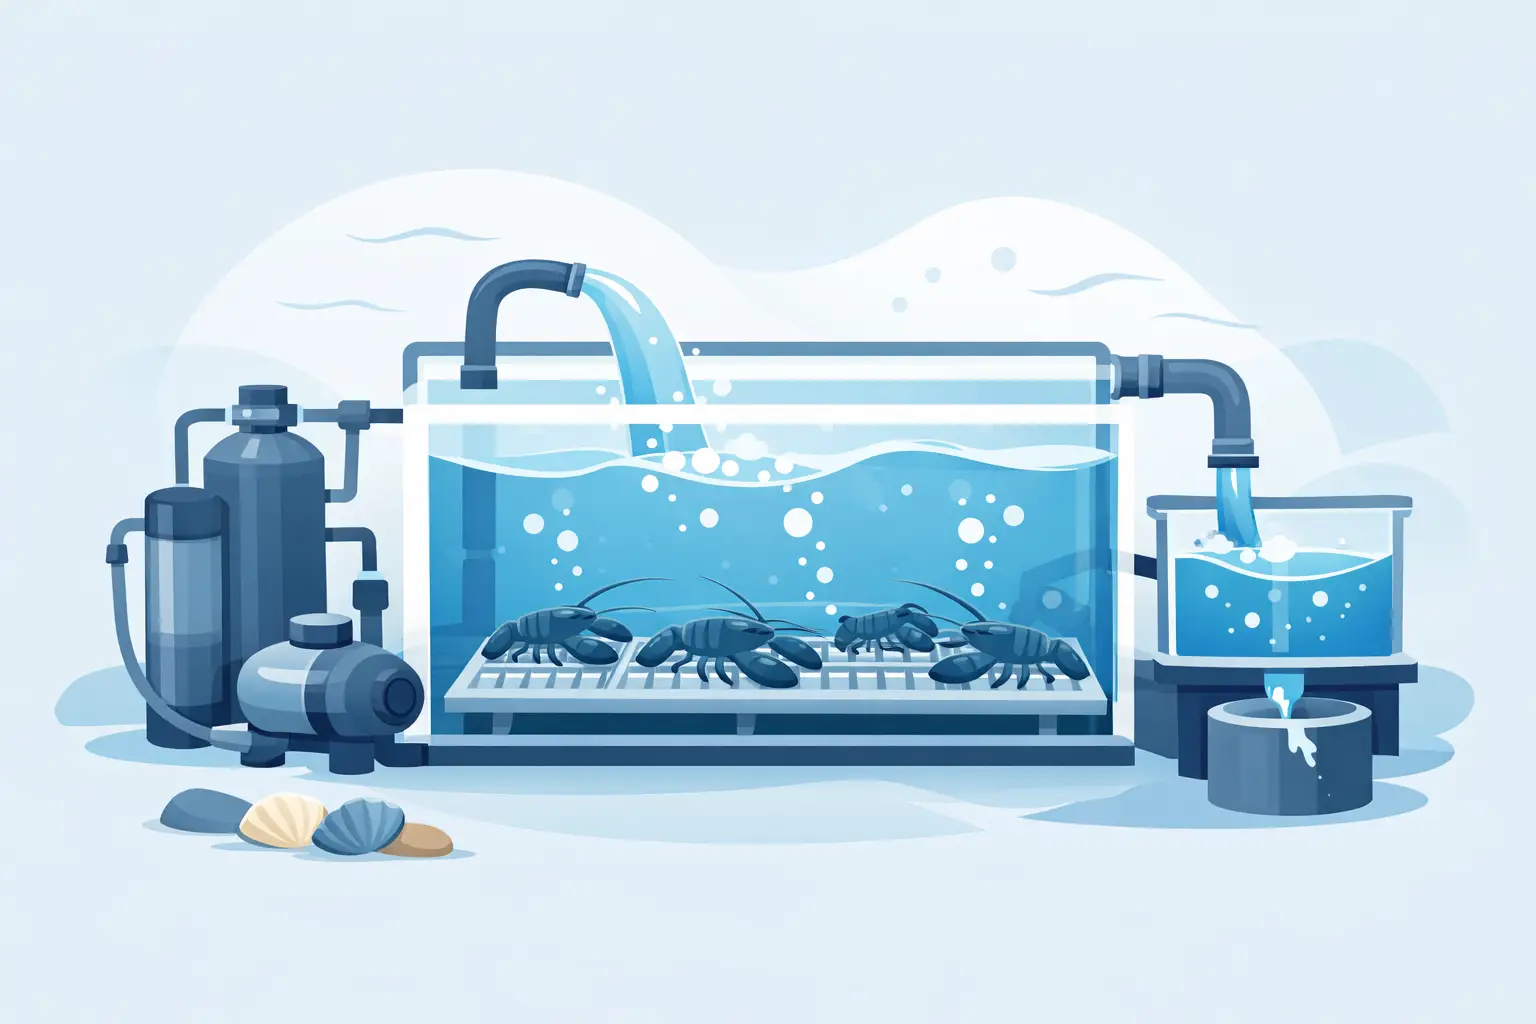
If a system has a recirculating loop, do not assume that running a chemical through the plumbing is safe or sufficient. Pumps, media vessels, carbon housings, check valves, and seals may require separate handling. Activated carbon and other filtration media are often replaced after a major sanitation event because they can hold organic matter or residual compounds. Your service provider or tank manufacturer should be able to specify compatible products and restart procedures for the exact equipment installed.
Protect the Biological Filter During Routine Care
A complete disinfection can wipe out beneficial bacteria in biofiltration media. That may be necessary after a serious contamination event, but it should not be the default response to routine housekeeping. Without biological filtration, ammonia and nitrite can climb rapidly after livestock returns to the system.
For normal maintenance, clean prefilters, remove detritus, inspect pumps and water flow, and replace exhausted carbon or media as needed. Avoid treating all filter media as disposable or all bacteria as harmful. A healthy biofilter is part of the tank’s operating system, not an afterthought.
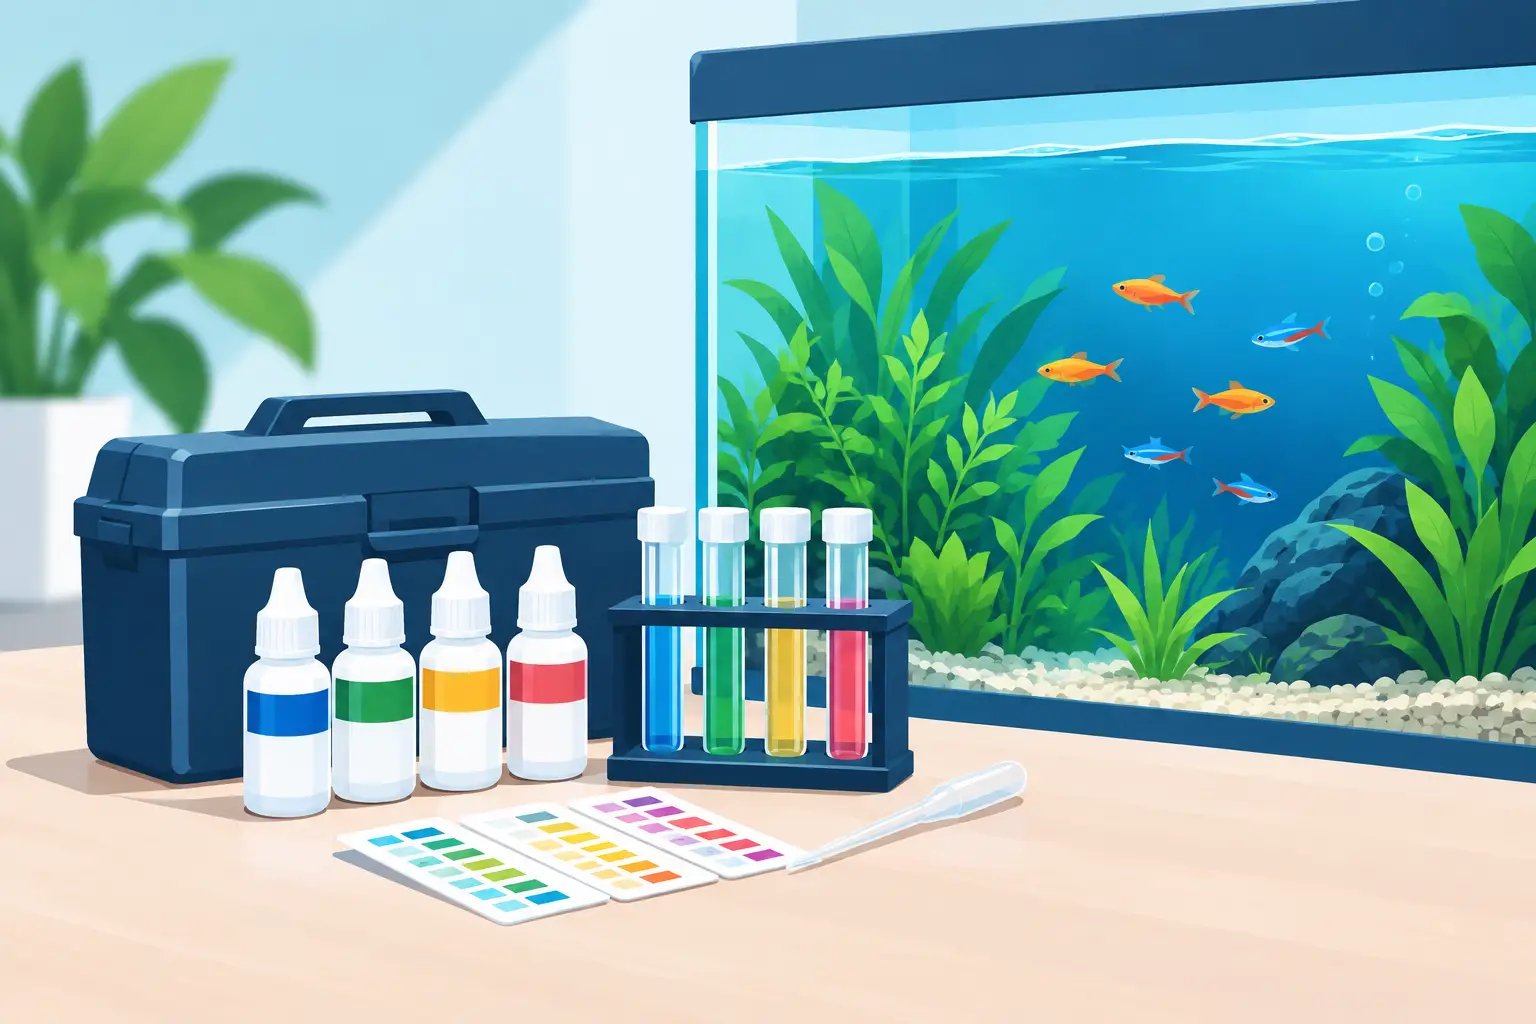
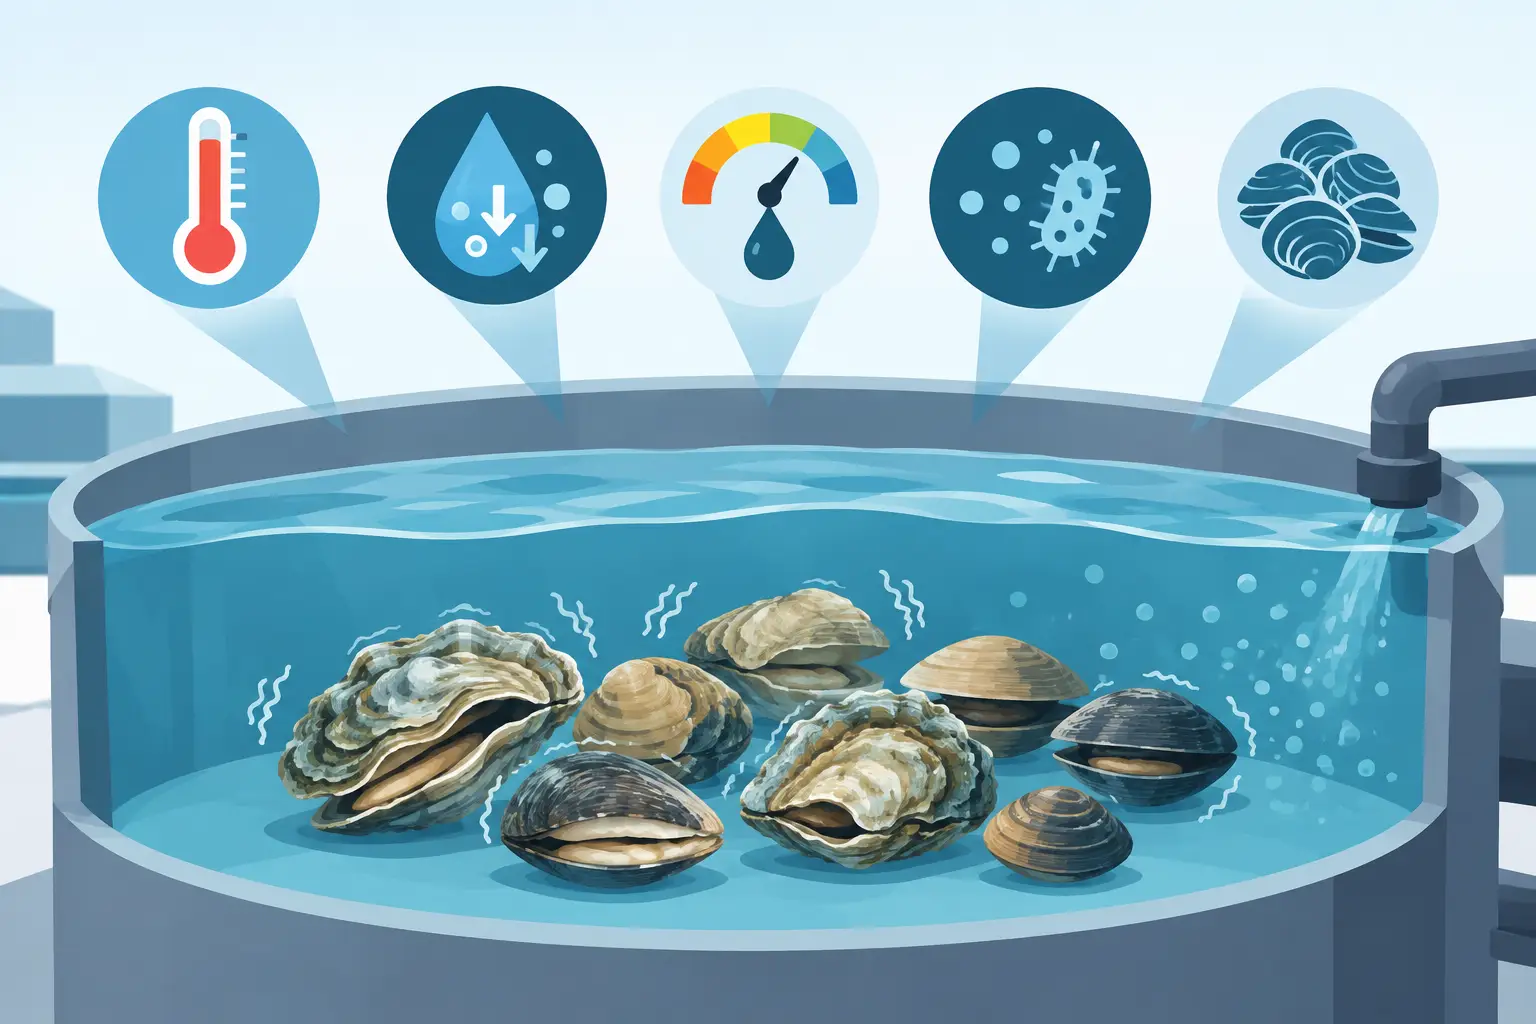
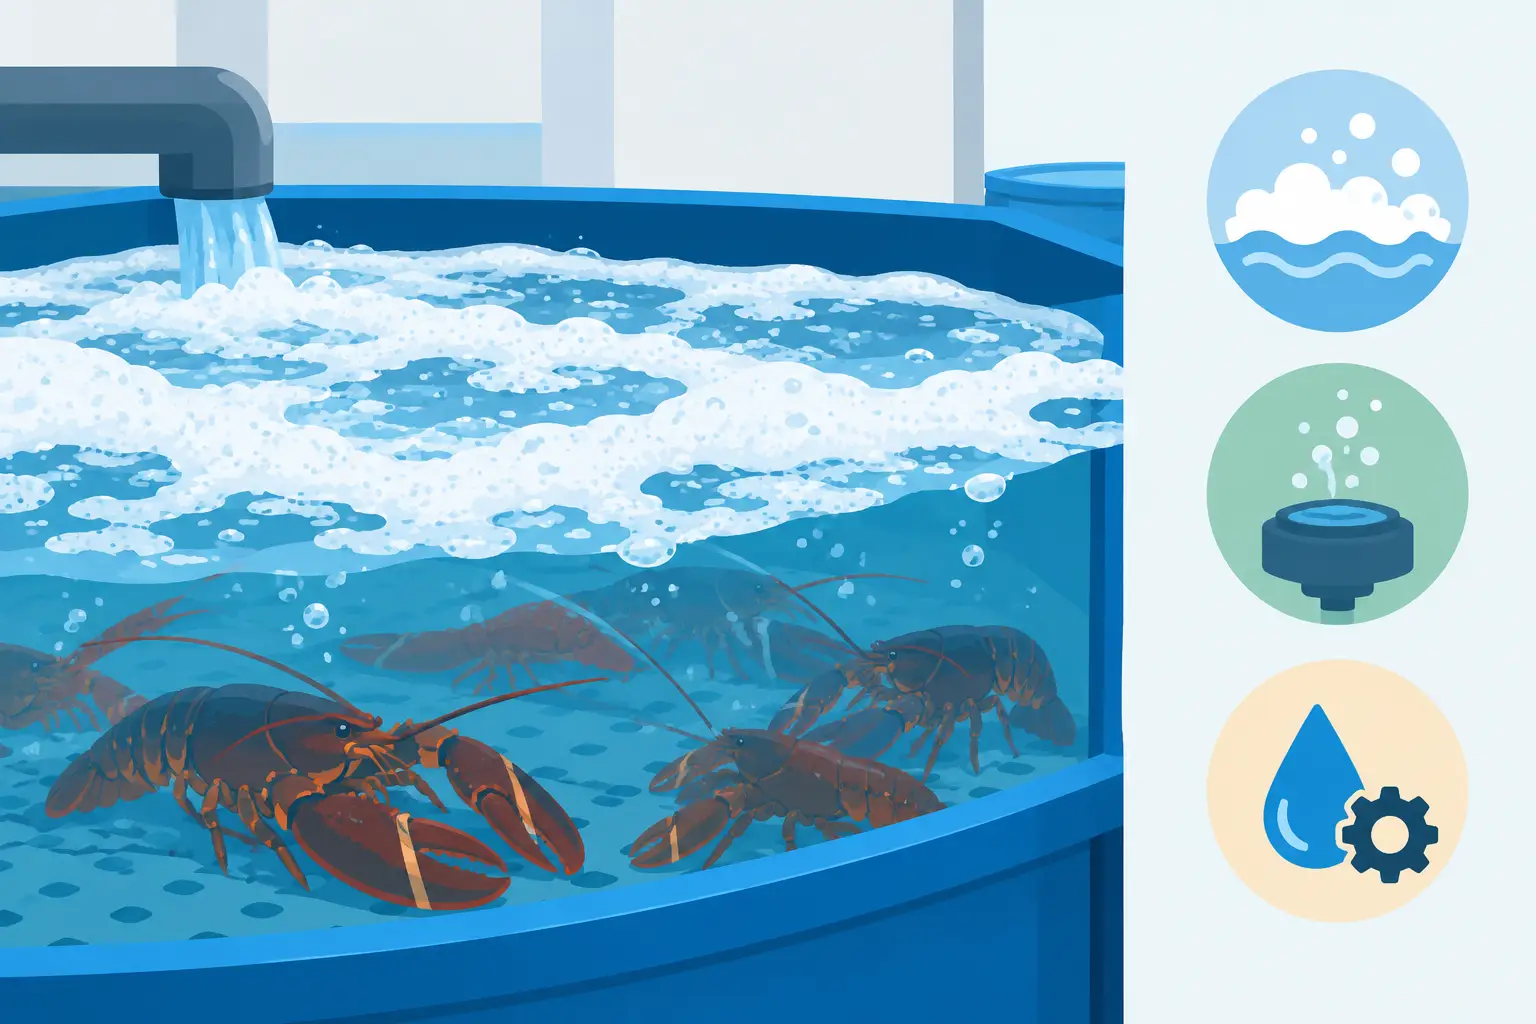
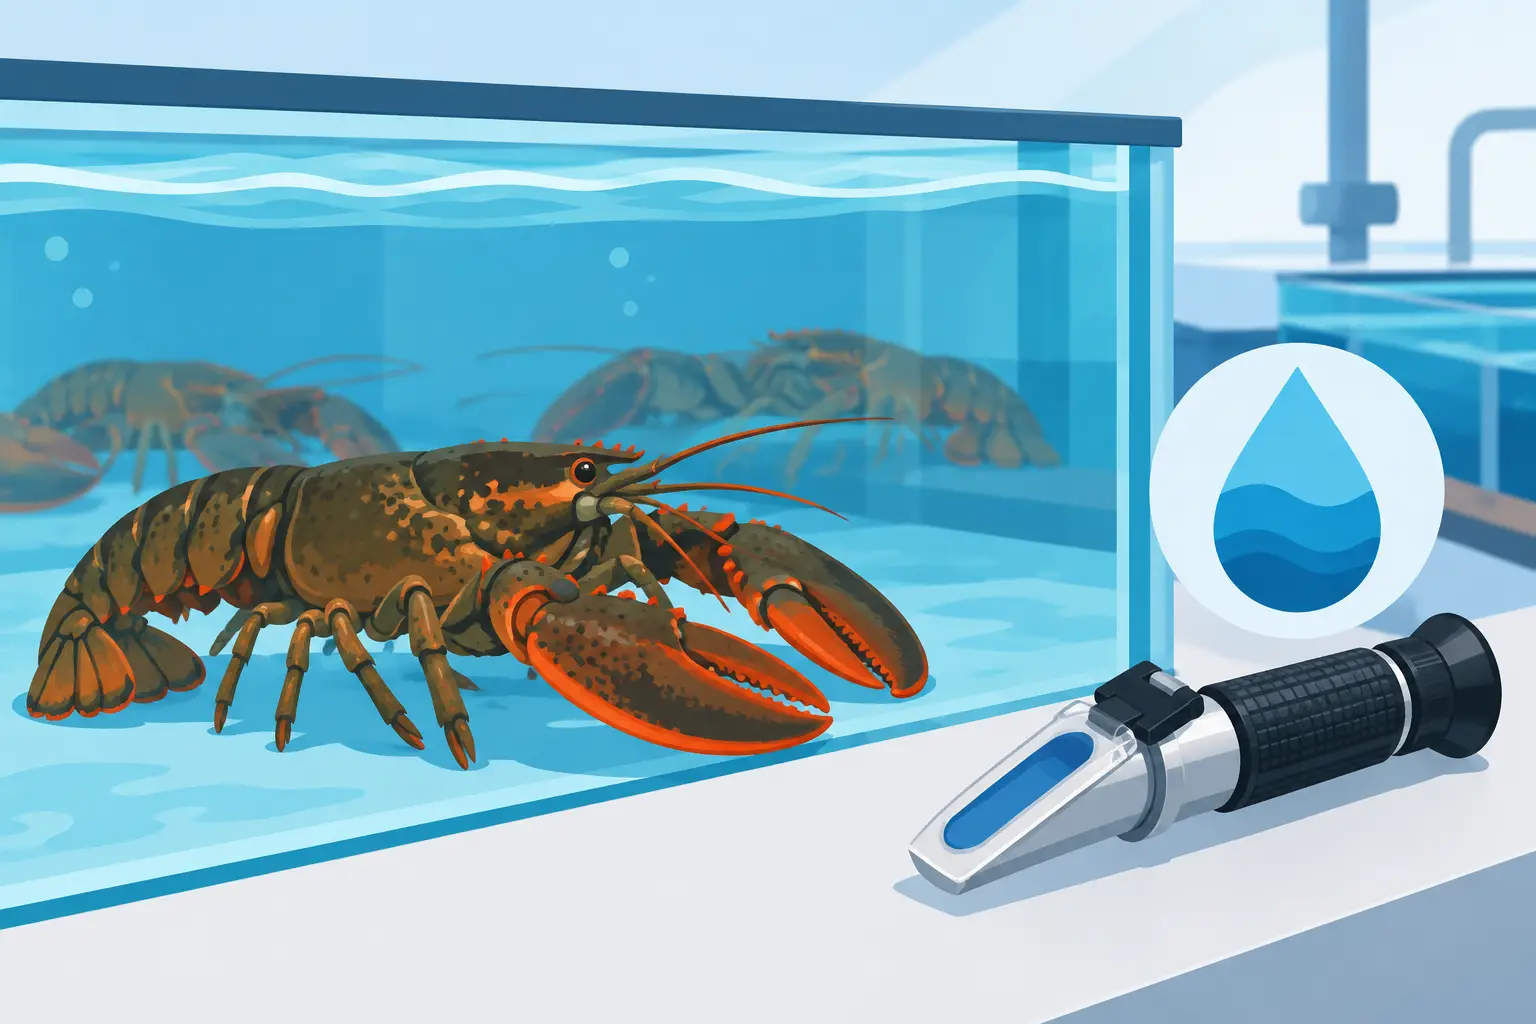
After a full teardown, verify salinity, temperature, dissolved oxygen, pH, ammonia, nitrite, and overall circulation before restocking. If new saltwater is being mixed, allow it to fully dissolve and stabilize. Returning lobsters or shellfish to water that is chemically clean but poorly conditioned can still cause loss.
Focus on the Areas Staff Commonly Miss
The front viewing panel gets attention because customers see it. The places that create operational trouble are often behind the scenes: drain channels, overflow boxes, return lines, pump screens, air stones, valve handles, sump walls, holding trays, and the undersides of tank grates.
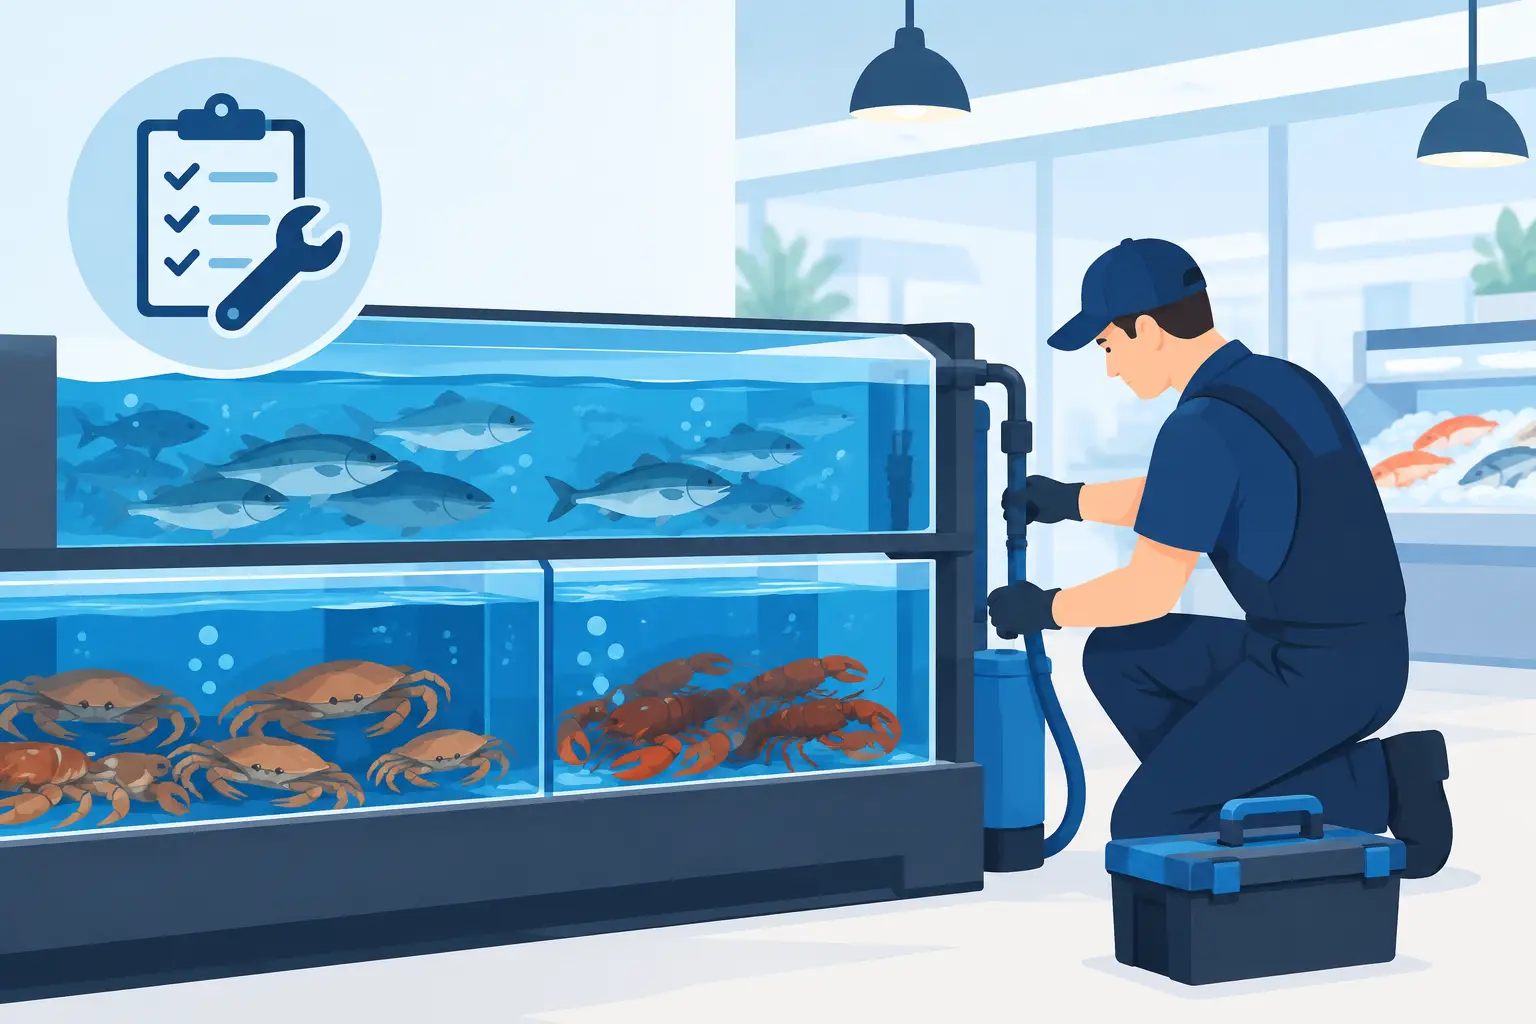
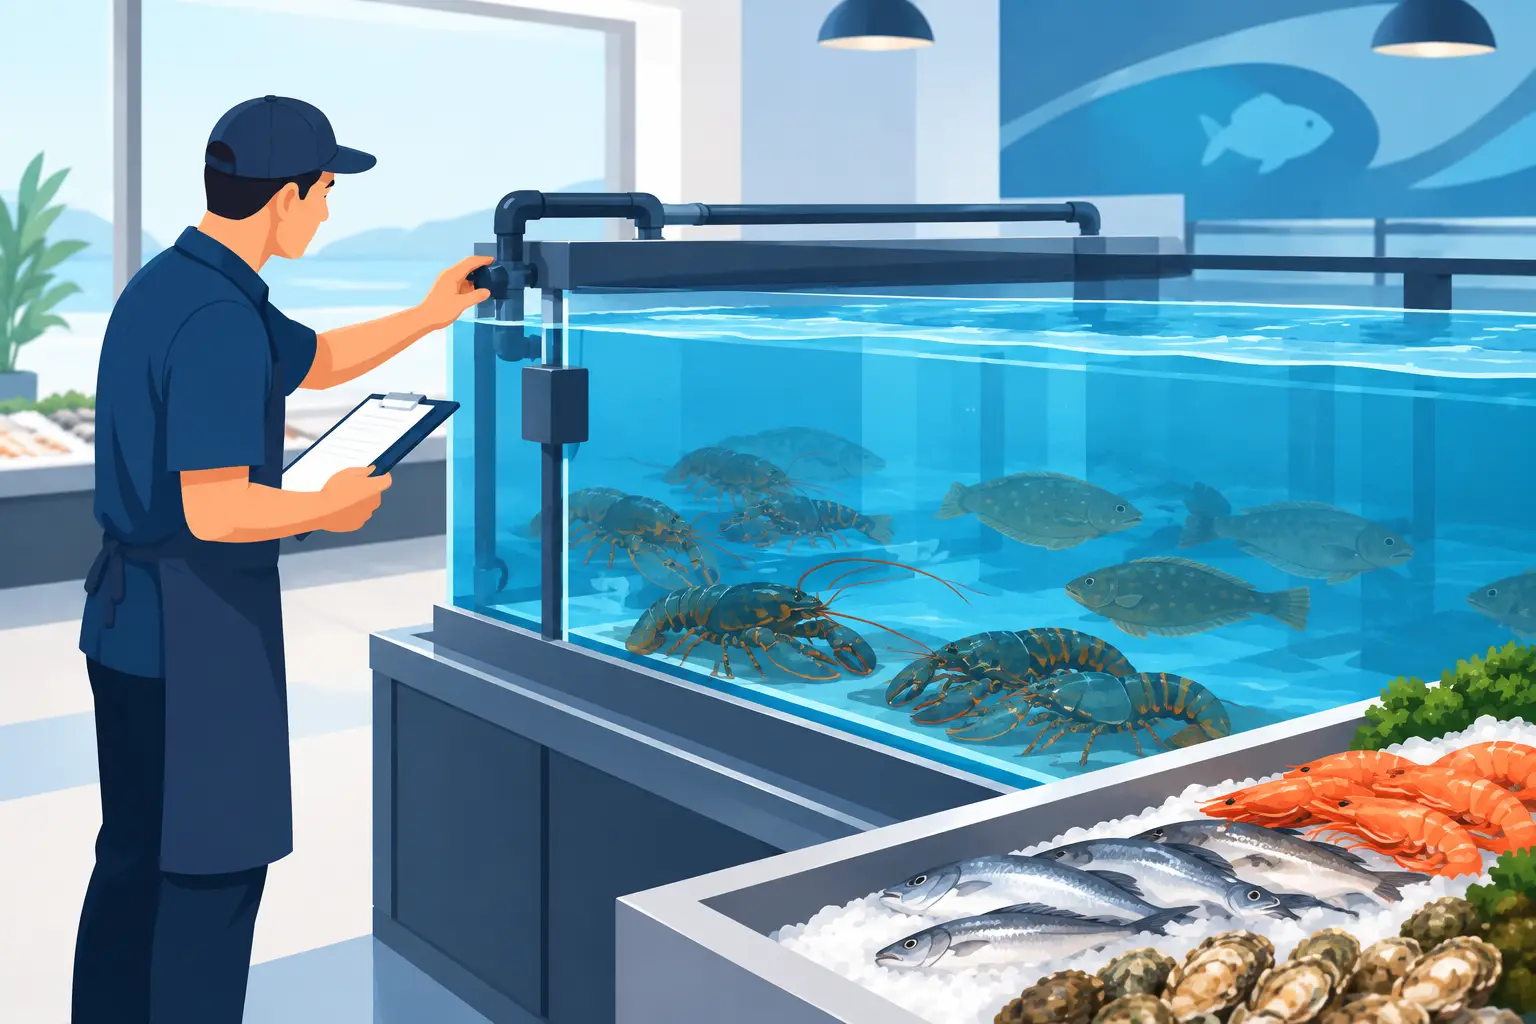
Biofilm thrives where flow is low and cleaning access is poor. Build those areas into the standard operating procedure. A simple maintenance log should document the date, staff member, cleaning products used, sanitizer concentration, contact time, media changes, water readings, and any equipment issues found. That record gives managers a clear history when a recurring water-quality or livestock problem needs troubleshooting.
Keep Sanitation From Becoming a Business Interruption
The best sanitation program is planned around sales volume, delivery schedules, and available backup capacity. Schedule deeper work during lower-volume periods, maintain spare media and critical replacement parts, and train staff on exactly what can be cleaned while the tank remains in service.
If your team is repeatedly dealing with cloudy water, odors, stressed livestock, weak flow, or frequent emergency cleaning, the issue may be system design, filtration capacity, maintenance intervals, or an aging component rather than staff effort. A commercial seafood tank should support the operation, not force employees into constant recovery work.
Lobster Life Systems has worked with commercial live-seafood operators since 1989, and the same principle still holds: sanitation works best when tank design, filtration, salt, consumables, and service are treated as one operating system. Keep procedures clear, chemicals controlled, and water conditions verified before product goes back on display. That is how a clean tank stays a dependable selling tank.