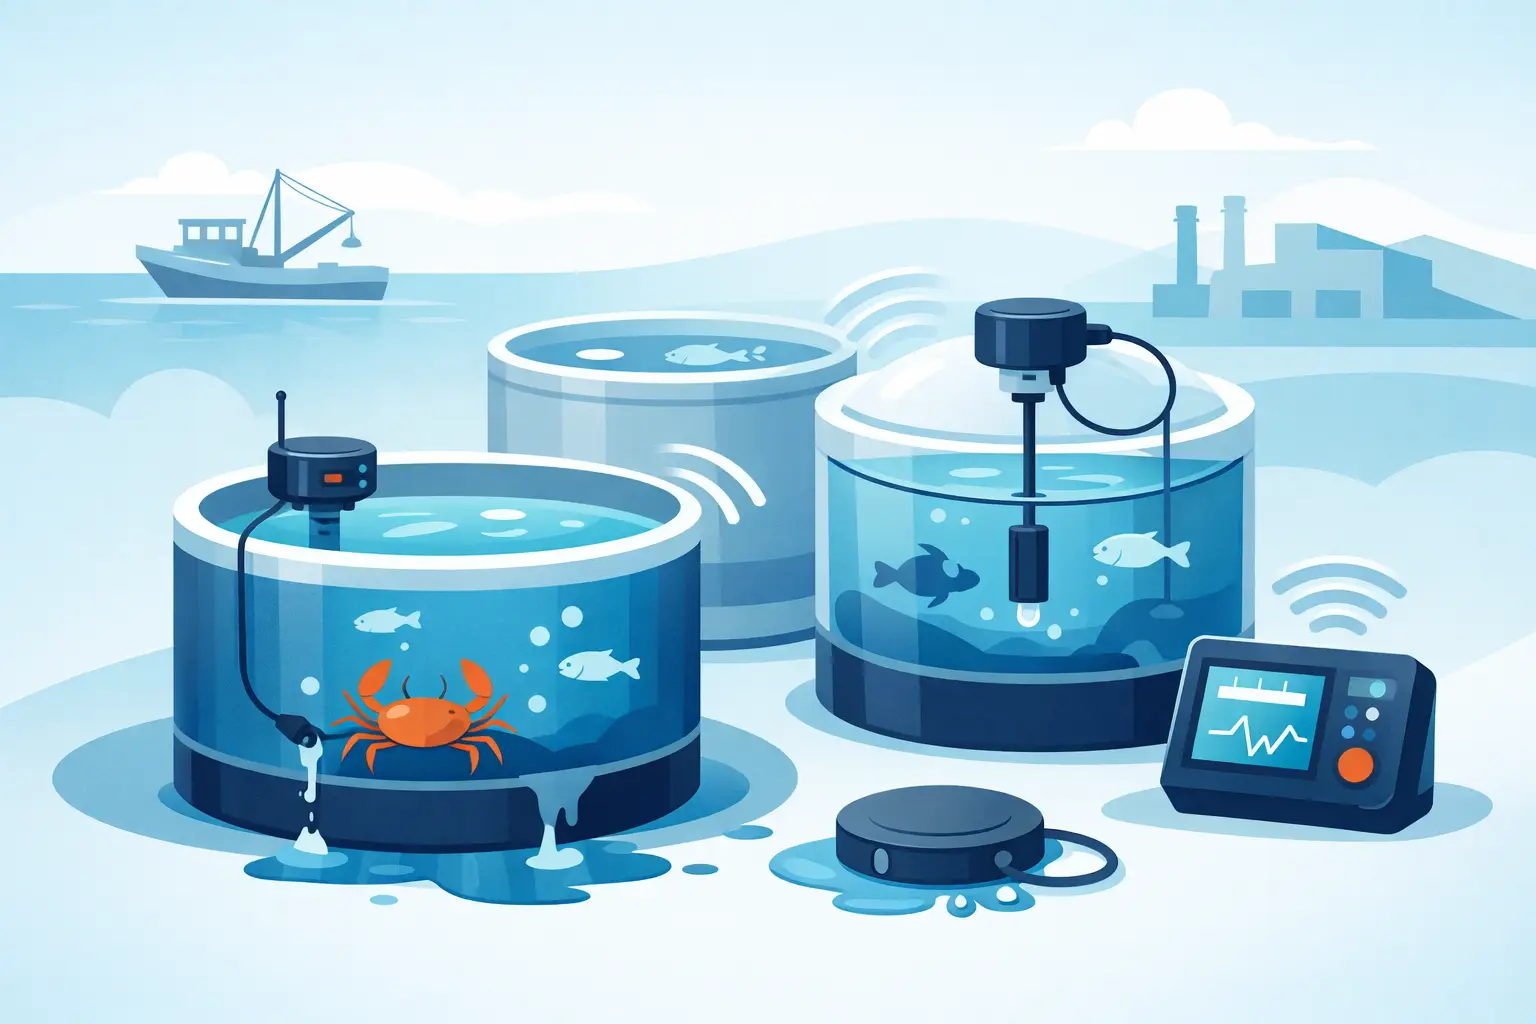

A salinity number is only useful if you can trust it. In a commercial lobster or live seafood system, a meter that reads even slightly off can lead staff to add salt when they should not, miss a dilution problem, or overlook a system issue until inventory begins showing stress. Knowing how to calibrate salinity meters is basic tank-room discipline – and it protects product, margins, and the condition of every animal in the system.
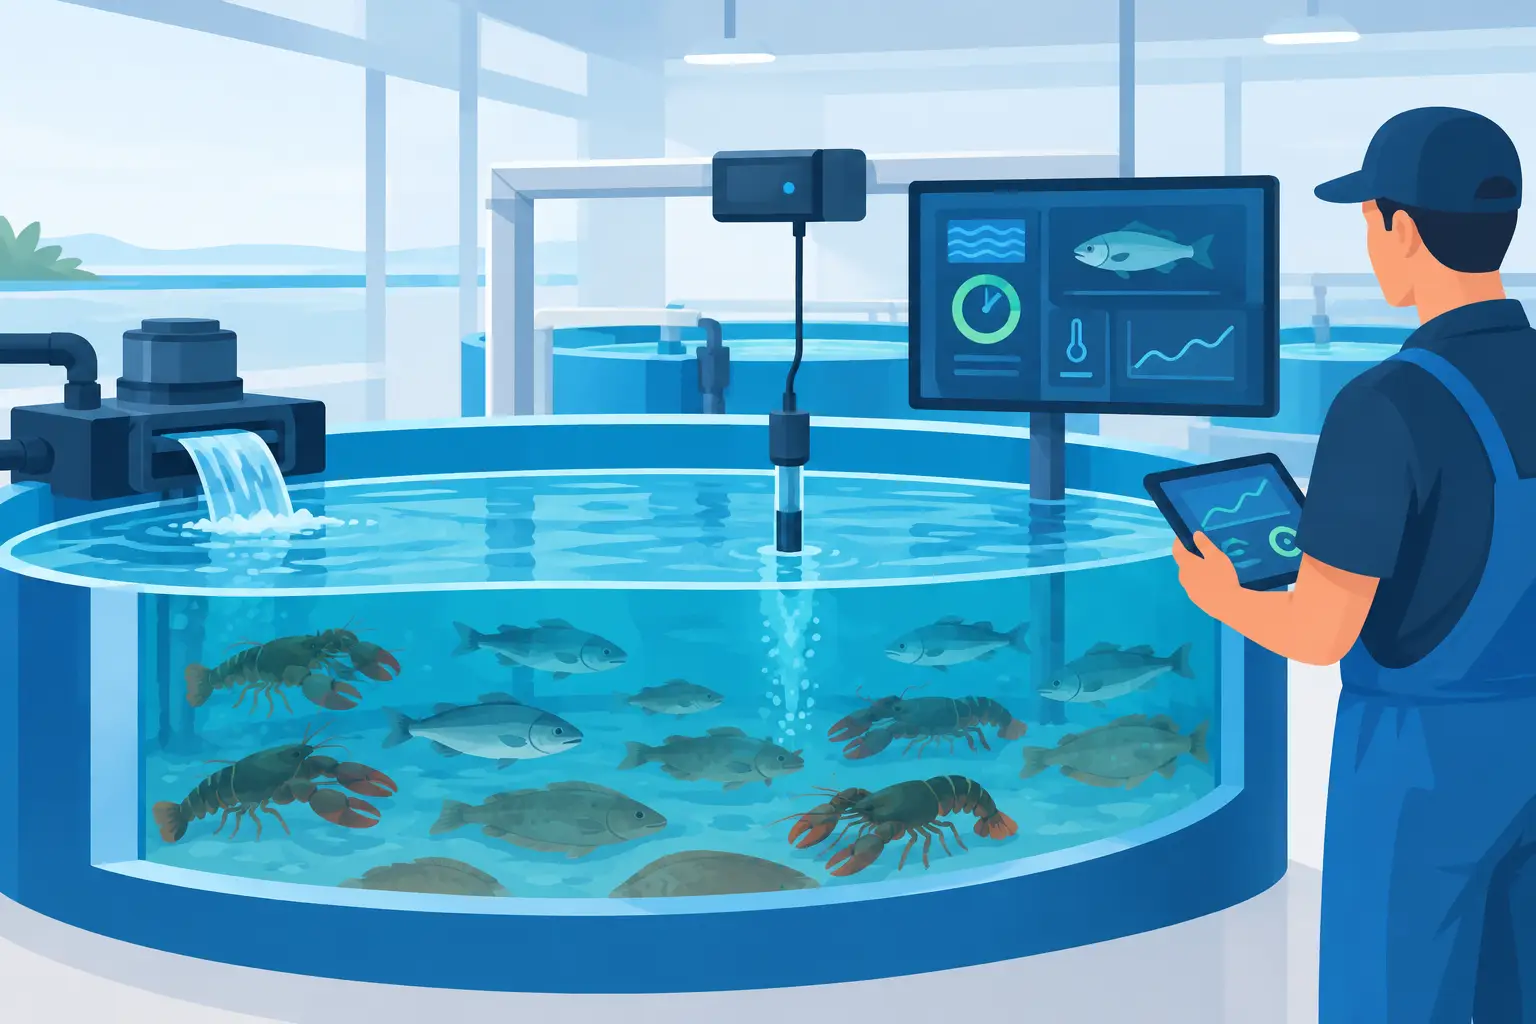
For seafood departments, wholesalers, restaurants, and live-holding operations, calibration should not be treated as an occasional repair task. It is part of a routine operating program, alongside checking temperature, filtration, oxygenation, ammonia, and water clarity.
Start With the Right Standard for the Meter
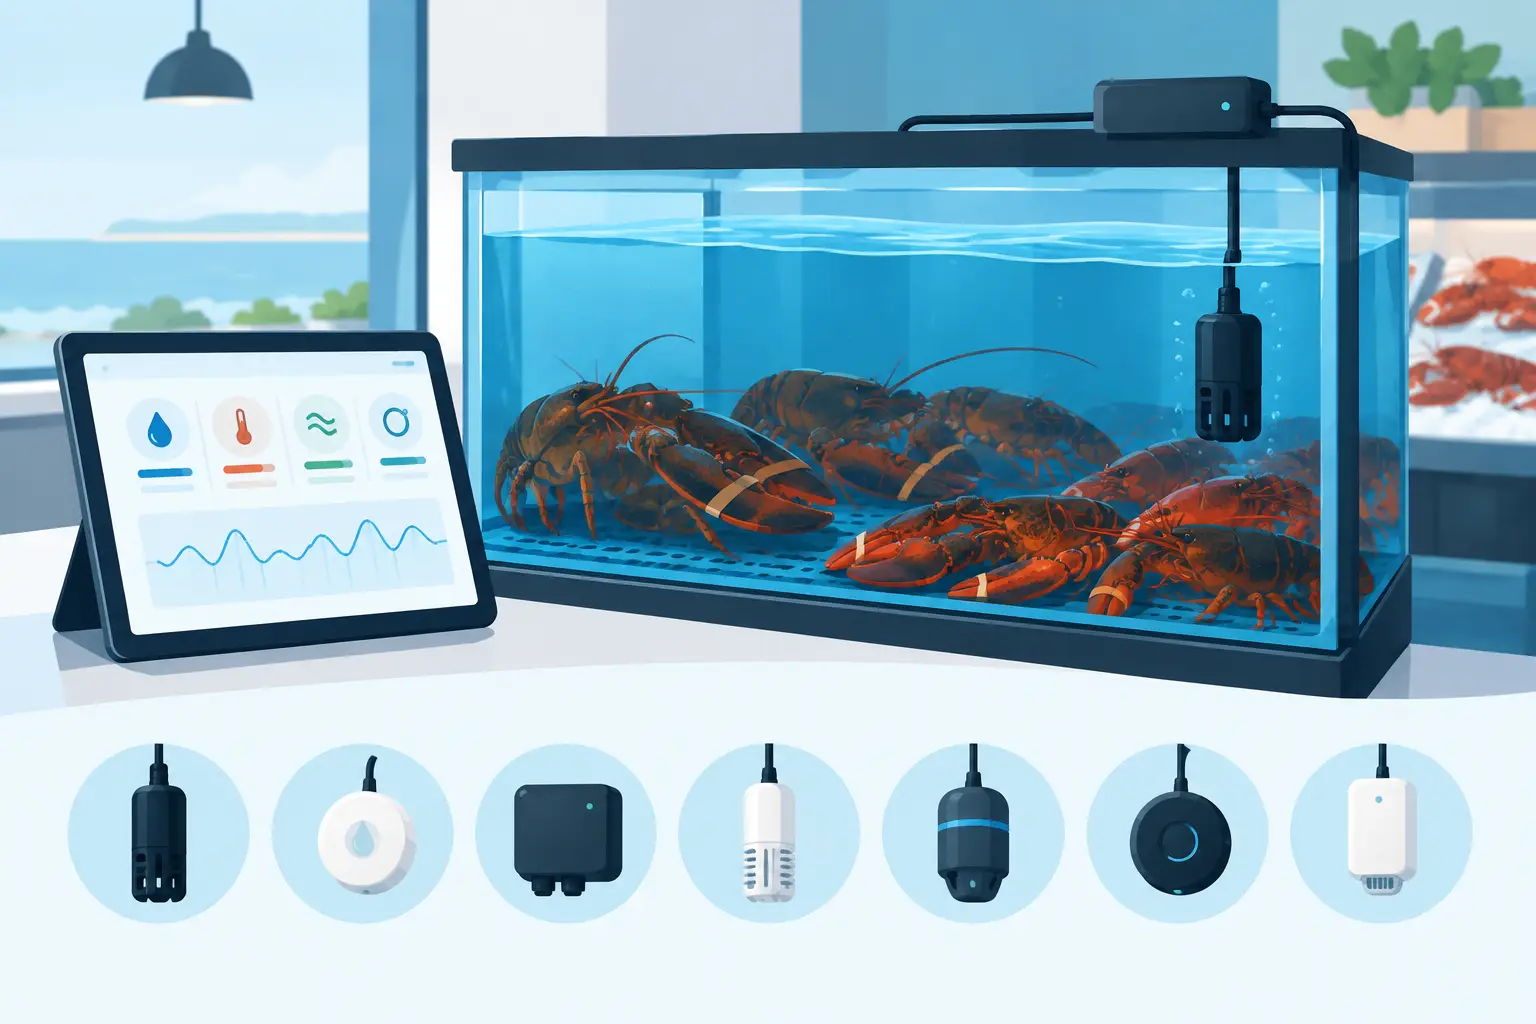
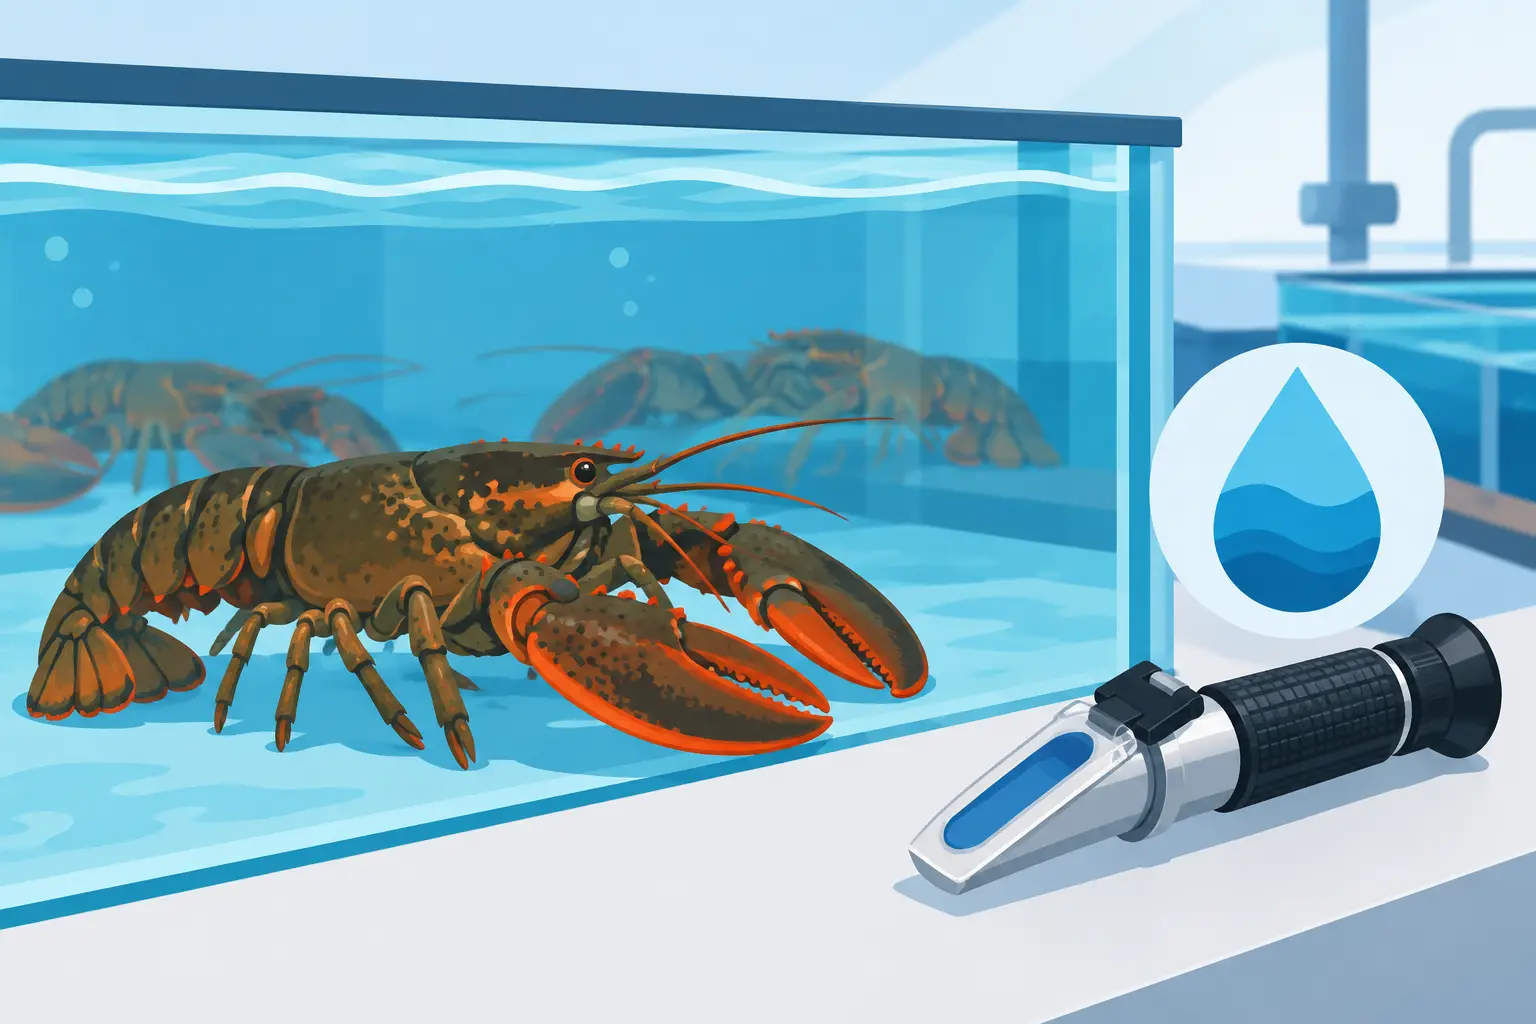
Most commercial operations use an electronic salinity meter, conductivity meter, or probe-based multiparameter meter. These instruments estimate salinity from conductivity, then convert that reading into units such as parts per thousand (ppt), practical salinity units (PSU), or specific gravity. The display may be simple, but the meter relies on a clean sensor and a known reference solution to stay accurate.
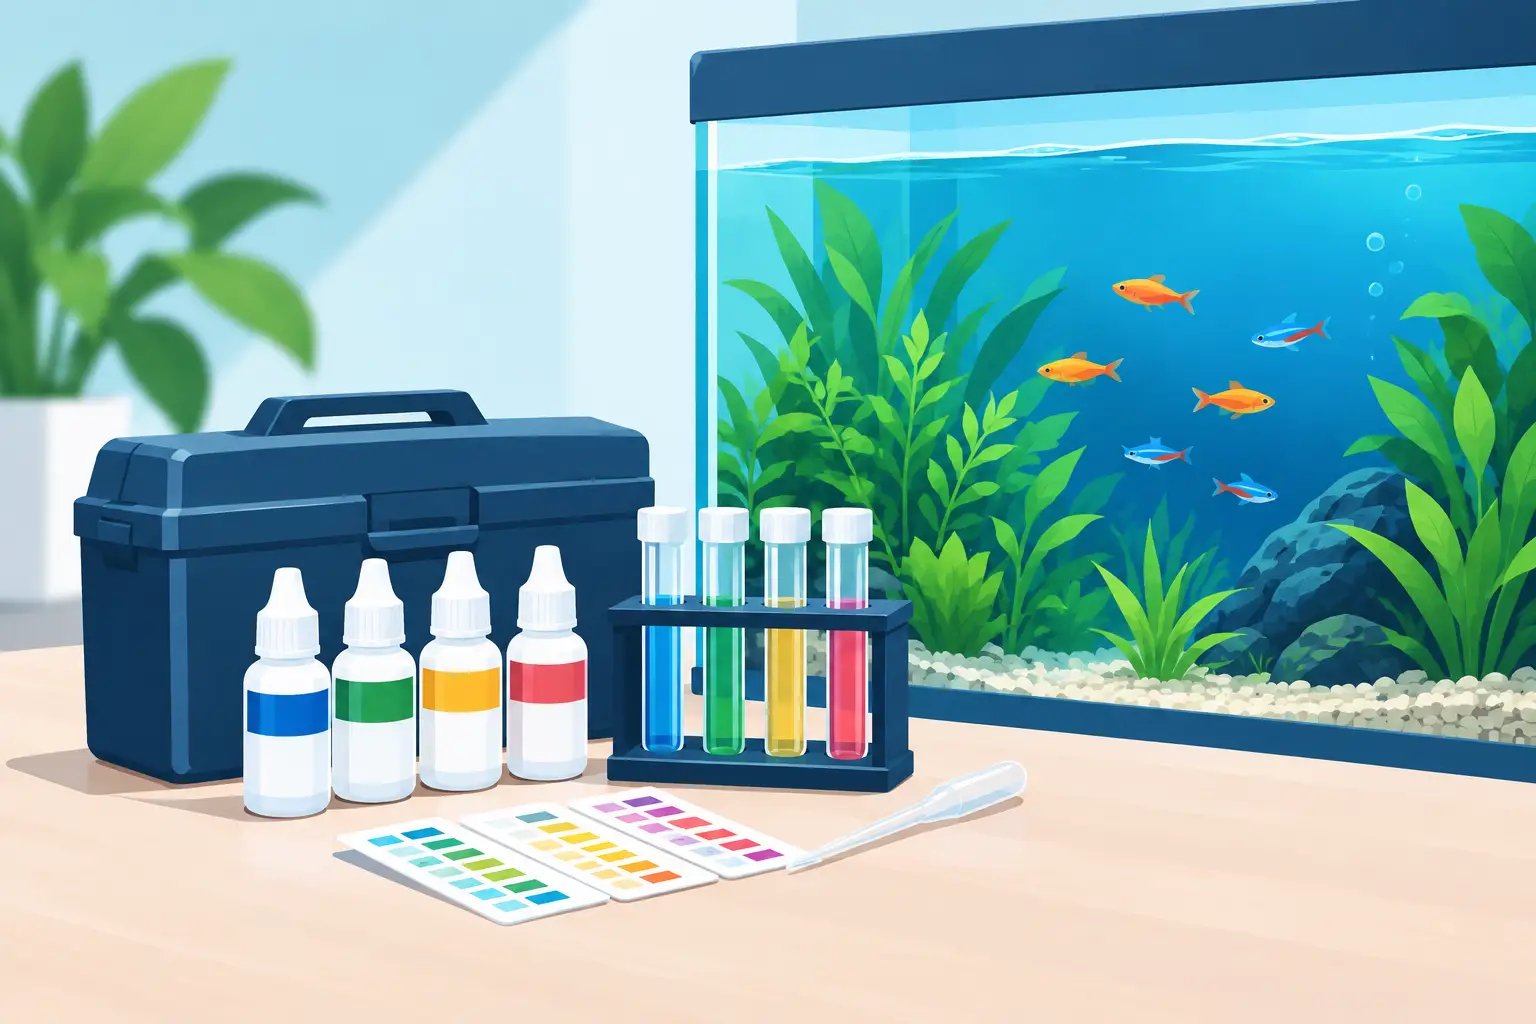
Use the calibration standard specified by the meter manufacturer. Do not substitute tank water, table salt mixed in a bucket, or an old bottle of solution with an unclear history. A calibration fluid is made to a precise conductivity value at a stated temperature. Homemade saltwater can vary based on water source, mixing, evaporation, and the salt blend used.
For marine holding systems, a 35 ppt or 53.0 mS/cm conductivity standard is common, but the proper standard depends on the instrument and the salinity range your operation maintains. Check the meter manual before ordering solutions or setting up the procedure. Calibrating at a point far away from your normal operating range can reduce confidence where the reading matters most.
Keep calibration solution tightly capped, clearly dated, and stored away from direct heat and freezing conditions. Once a standard is contaminated with tank water, salt residue, or cleaning chemicals, it is no longer a reliable reference.
Prepare the Meter Before Calibration
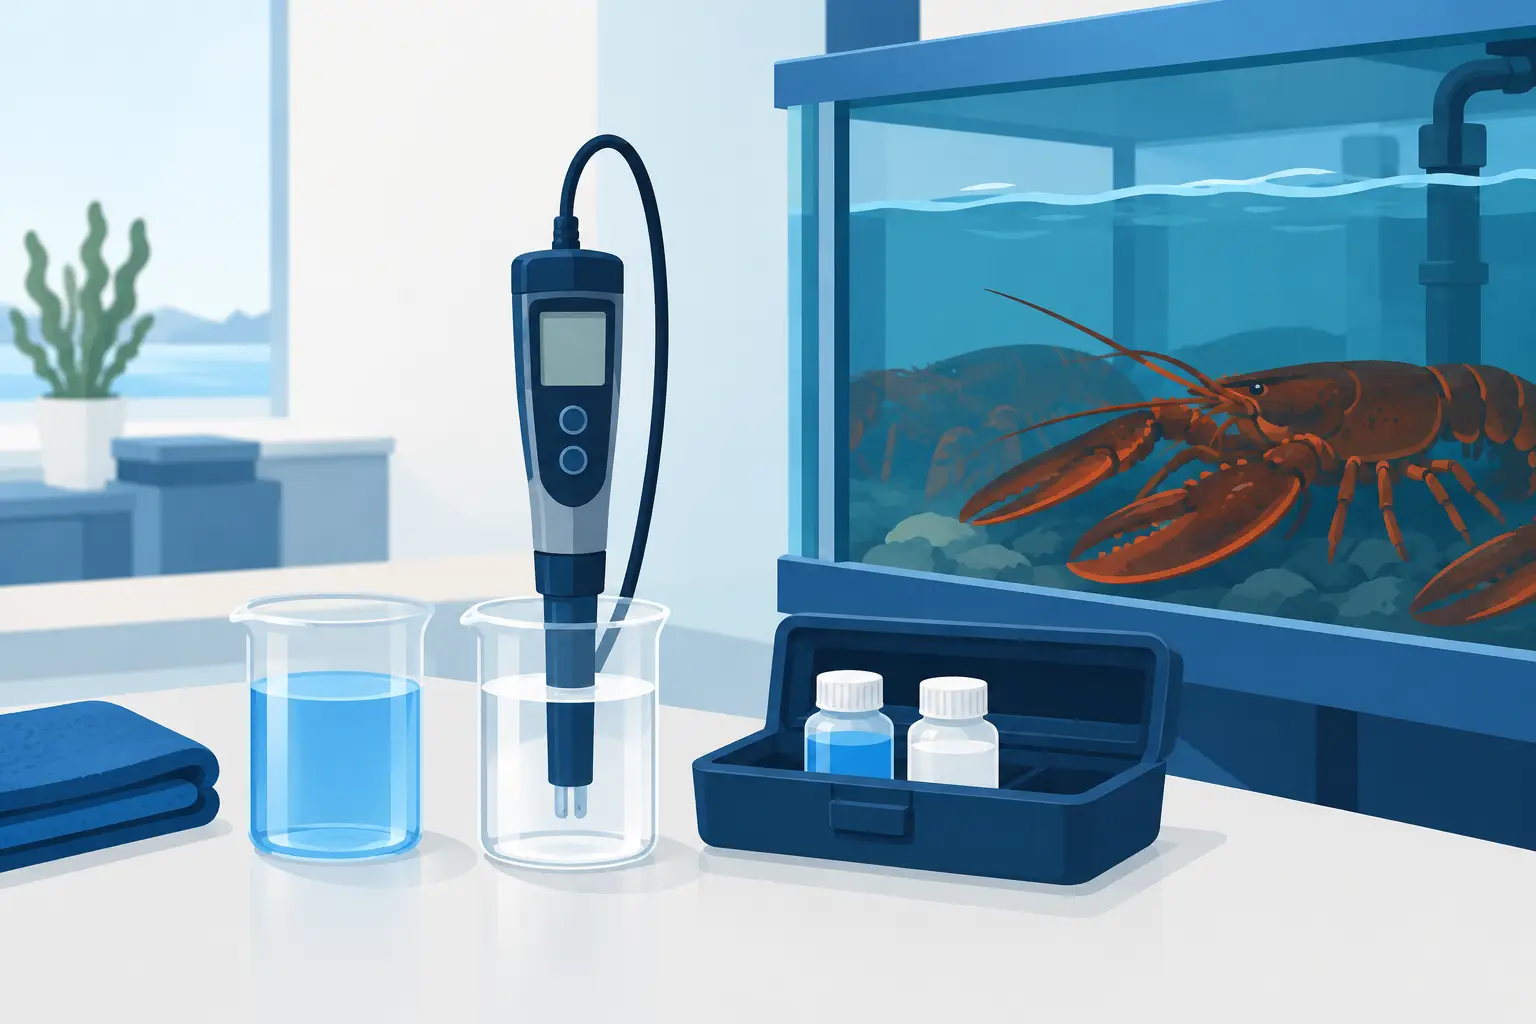
Good calibration begins before the meter enters the standard solution. Inspect the probe or sensor for film, mineral buildup, salt crystals, food debris, and physical damage. A meter can pass through the calibration sequence and still provide poor results if its sensing surfaces are dirty.
Rinse the probe with clean distilled or deionized water. Never wipe sensitive conductivity electrodes aggressively with a shop towel, which can leave fibers behind or damage delicate components. If the sensor has visible buildup, follow the manufacturer’s cleaning instructions. A soft brush or approved probe-cleaning solution may be appropriate, depending on the meter design.
Allow the meter, rinse water, and calibration solution to come close to the same working temperature. Many quality meters include automatic temperature compensation, but that feature does not eliminate the need for sensible handling. A cold bottle of standard pulled from storage and a warm probe fresh from a tank room can produce a drifting reading until both stabilize.
Before starting, check battery level and inspect the cable, connectors, and protective cap. On busy seafood floors, a weak battery or damaged connection can create an intermittent problem that looks like a water-quality issue.
How to Calibrate Salinity Meters Step by Step
The exact buttons vary by manufacturer, but a dependable commercial process follows the same sequence.
First, pour a small amount of fresh calibration solution into a clean sample cup. Do not calibrate directly in the stock bottle. Once the probe enters the cup, discard that portion after use rather than pouring it back. This small practice prevents contamination from shortening the life of an entire bottle of standard.
Rinse the probe with distilled or deionized water, then gently shake off excess droplets. Do not leave rinse water pooling around the sensor, since it can dilute a small sample of calibration solution.
Place the probe in the standard at the required depth. Make sure there are no trapped air bubbles around the sensing area. Lightly swirl the probe if the manufacturer permits it, then hold it still while the measurement settles. Avoid resting the probe against the bottom or side of the cup.
Enter calibration mode and select the correct standard value if the meter does not recognize it automatically. Wait for the reading to stabilize before confirming the calibration. Some instruments show a stability indicator, while others require the operator to wait until the displayed number stops moving.
Once the meter accepts the calibration, rinse the probe again with clean water. Then verify the result with a new portion of the same standard or, preferably, a second standard if your meter supports multi-point calibration. The verification reading should be within the manufacturer’s stated tolerance. If it is not, clean the sensor, use fresh standard, and repeat the process.
Finally, document the calibration. Record the date, time, meter identification, standard used, result, and initials of the person performing the check. For a multi-tank operation, this record helps managers identify a failing instrument before it causes a costly correction across several systems.
When to Calibrate in a Commercial Tank Room
The right frequency depends on meter type, usage, maintenance practices, and how much is riding on the reading. A meter used daily to make salinity adjustments should generally be calibrated daily or at the start of each shift when multiple operators rely on it. At minimum, calibrate before any significant salt addition, water change, or troubleshooting decision.
Calibrate again after the probe has been dropped, exposed to chemical cleaner, stored improperly, or used in unusually dirty water. A meter that has sat unused for weeks should not go straight back into service without calibration and verification.
For operations with several technicians or locations, assign one meter as the reference instrument and maintain a written schedule. Consistency matters. If every employee calibrates differently, uses a different solution, or skips documentation, management cannot compare readings with confidence.
Common Calibration Problems That Cause Bad Readings
The most common mistake is using expired, evaporated, or contaminated standard solution. Saltwater residue at the cap, an unlabeled bottle, or solution poured back after use are warning signs. Standards are less expensive than inventory loss, so replace questionable fluid rather than trying to stretch it.
Another frequent problem is calibrating a conductivity meter in the wrong measurement mode. Confirm whether the instrument is set to salinity, conductivity, specific gravity, or total dissolved solids. A number can look believable while representing the wrong unit altogether.
Temperature is another source of confusion. Automatic temperature compensation adjusts the electrical measurement, but it does not correct for poor sampling or a probe that has not stabilized. When checking tank water, collect a representative sample or measure at a consistent location. Do not take one reading directly beside a freshwater top-off line, salt addition point, or return nozzle and assume it represents the whole system.
Probe storage also matters. Some probes should be stored wet in a manufacturer-approved solution, while others are designed for dry storage. Follow the instructions for that specific model. Storing a sensor incorrectly can shorten its service life and make calibration unreliable.
Use the Reading as Part of the Whole Water-Quality Picture
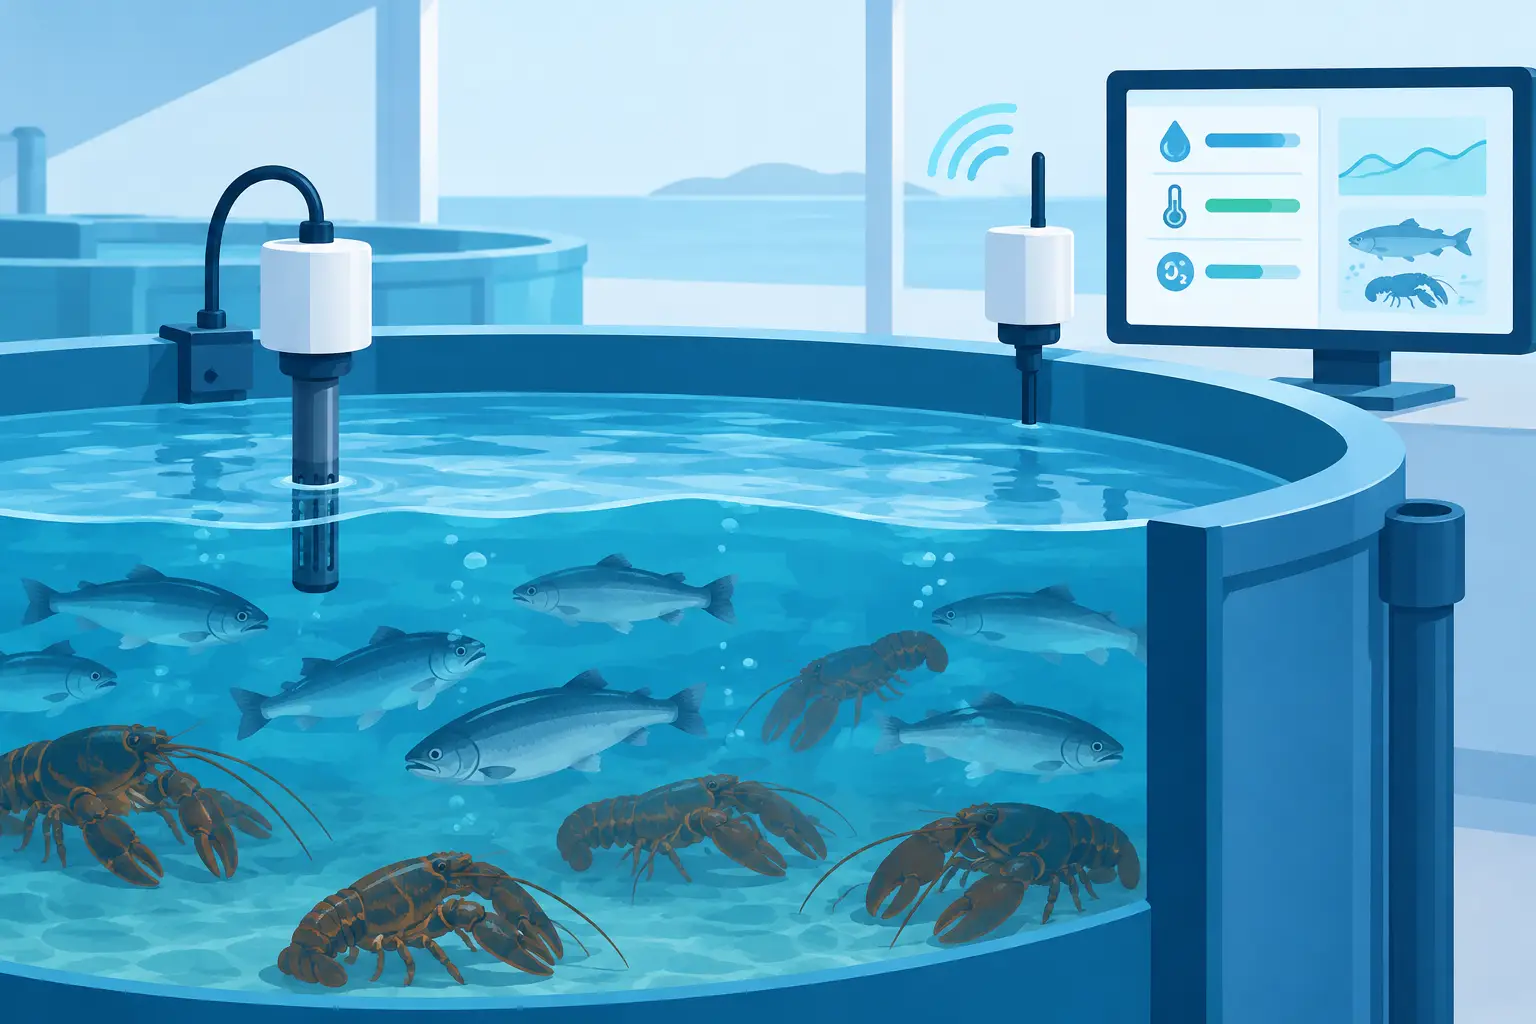
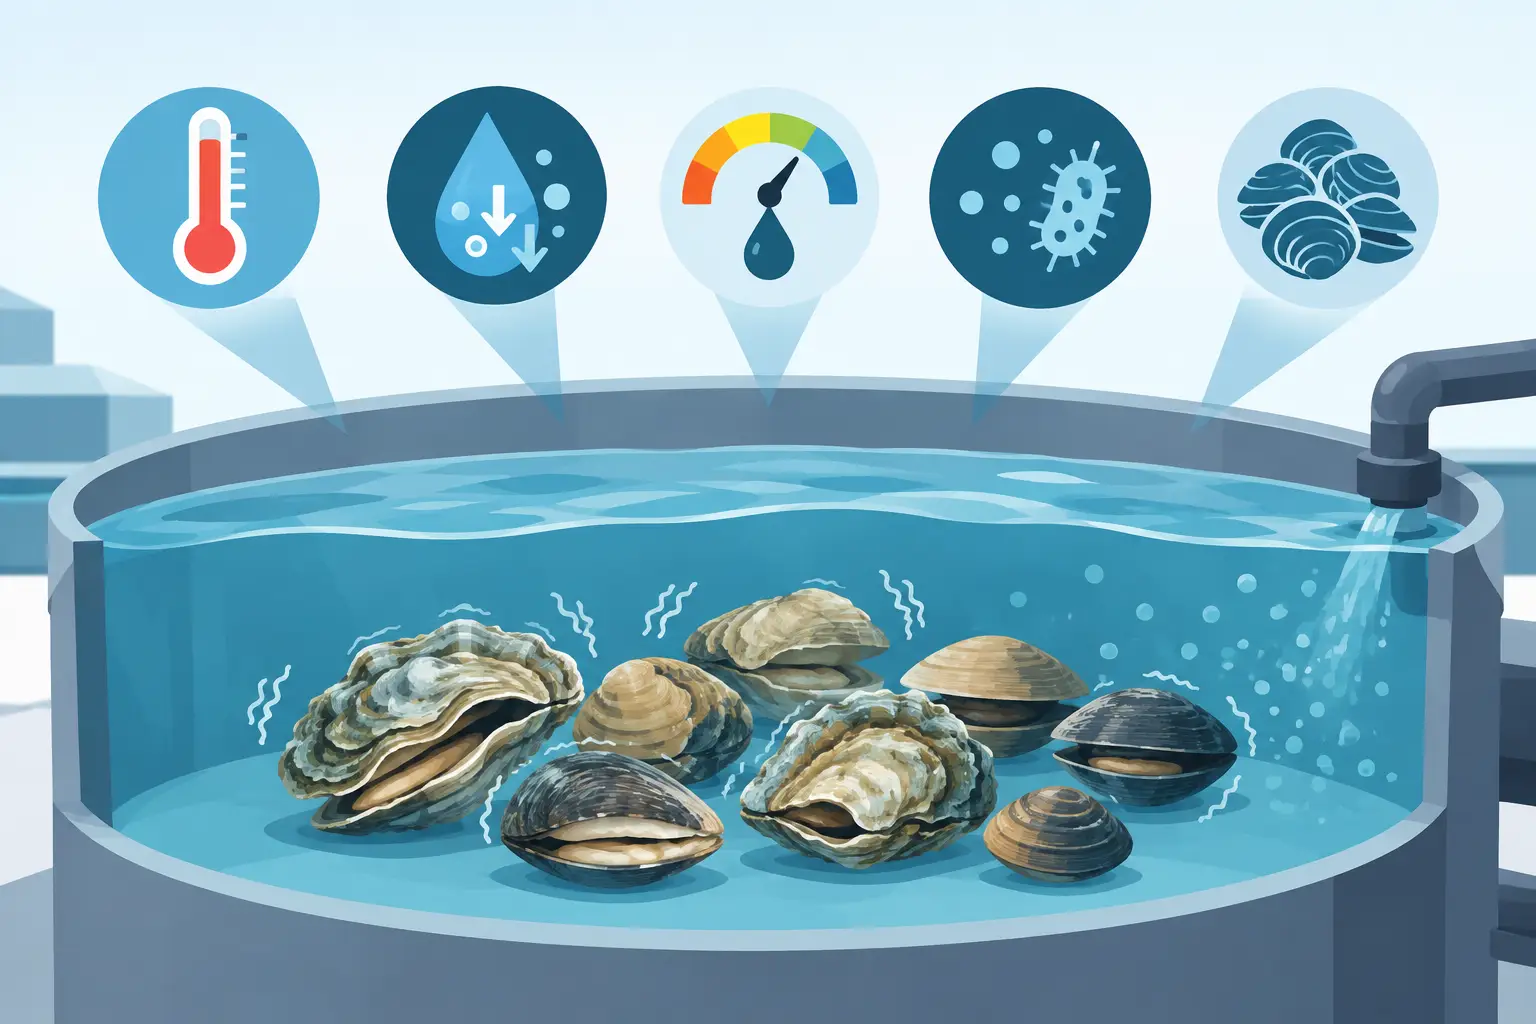
A calibrated salinity meter tells you the salt concentration, not whether the system is healthy by itself. If lobsters appear sluggish, stressed, or are experiencing unexplained losses, check temperature, dissolved oxygen, pH, ammonia, nitrite, circulation, filtration performance, and system cleanliness along with salinity.
Also, do not make large corrections based on one questionable reading. Confirm the measurement with a freshly calibrated meter, a second approved instrument, or a new sample. Sudden salinity changes can create their own stress on live inventory, particularly when tank conditions have already been compromised.
This is where an experienced service partner earns its keep. Lobster Life Systems works with commercial live seafood operations that need more than a replacement part or a bag of marine salt. When tank readings do not make sense, the real cause may involve equipment condition, top-off practices, filtration load, or a maintenance gap that is not visible from one test result.
Make Calibration a Habit, Not an Emergency Response
Post the calibration procedure near the tank room, keep fresh standards and rinse water stocked, and make one person accountable for the log. That small amount of discipline gives your crew a dependable baseline before they make a water adjustment that affects valuable live product.
A salinity meter is a simple tool, but it carries real operational weight. Keep it clean, calibrate it with a known standard, verify the result, and treat an unexpected number as a reason to investigate before changing the water. The best tank rooms are not the ones that never face problems – they are the ones that catch small changes early enough to protect the inventory.